The chart of accounts
In Cashfulness every entry lives on an account, and accounts are organized into a chart of accounts: a tree sorted into sections that mirrors double-entry logic. The Accounts screen is your starting point for exploring the structure, creating new accounts, and keeping them aligned with reality.
The tree structure
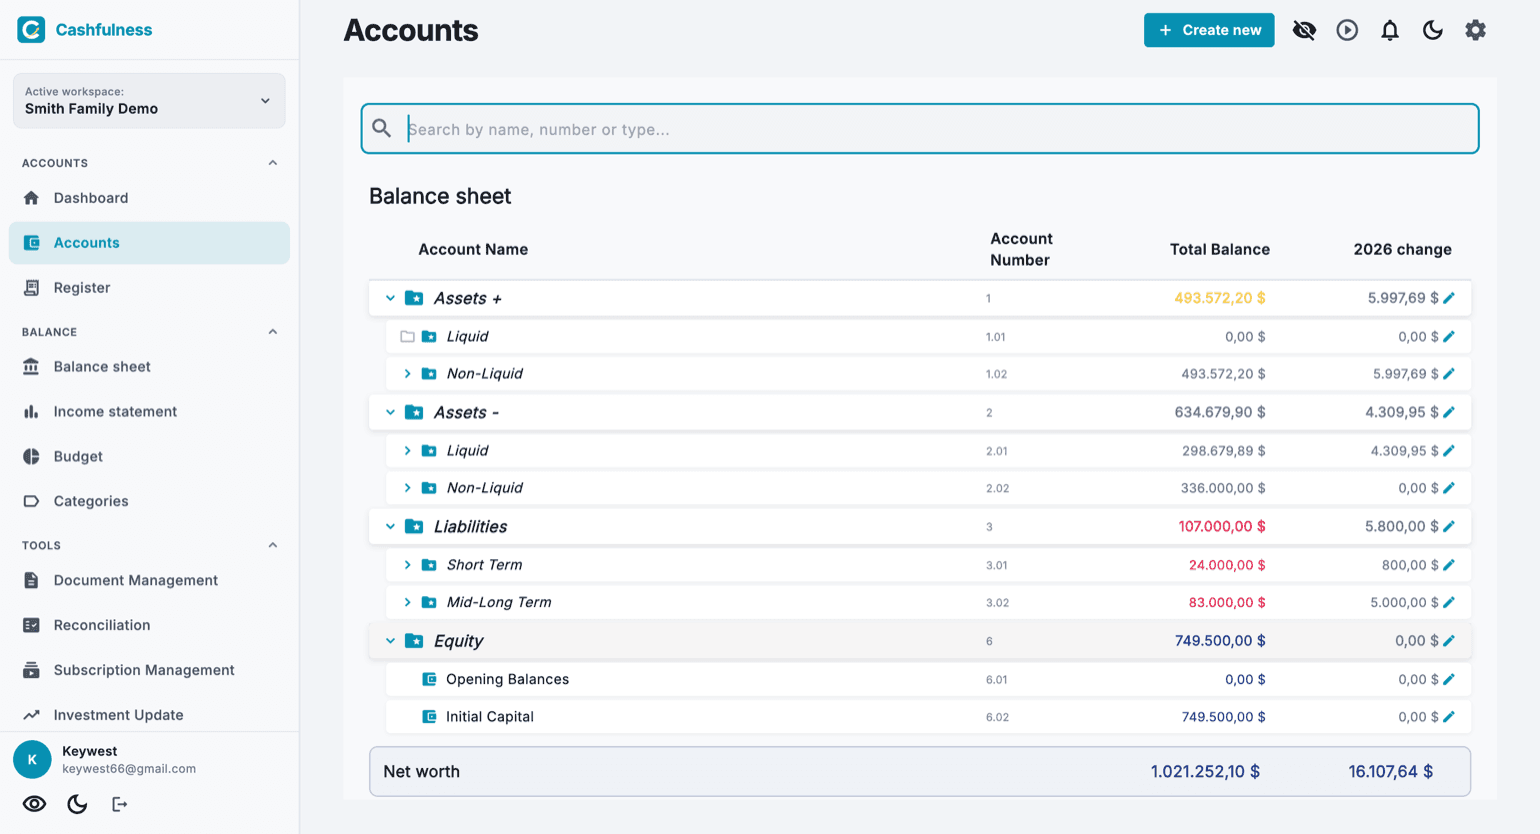
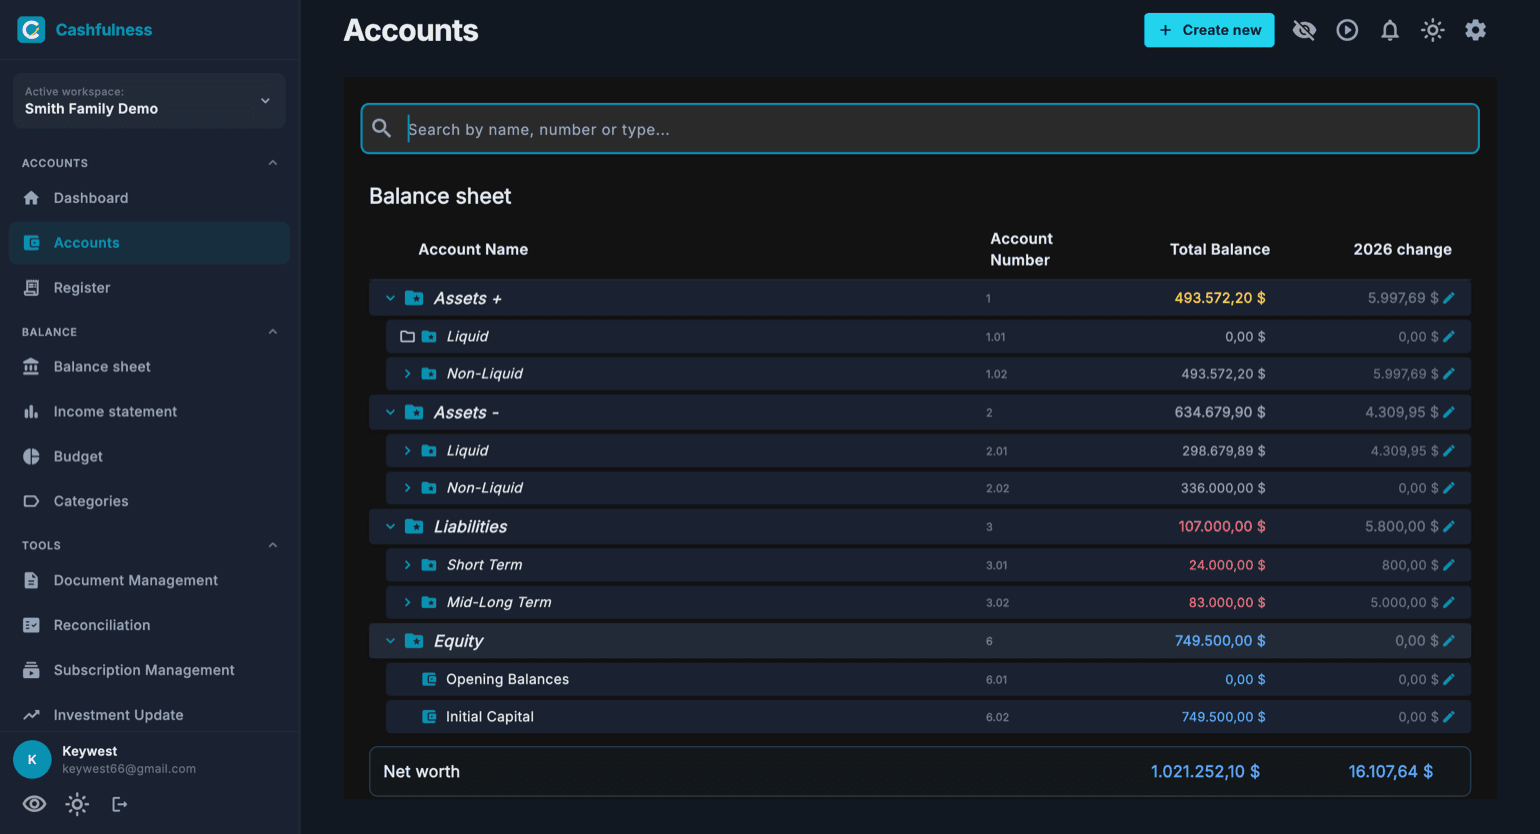
The Accounts screen shows the chart of accounts as an expandable tree, grouped by section. The Balance Sheet holds Assets+ (productive assets, the ones that generate value), Assets- (cash and personal-use assets), Liabilities, and Net Worth. Revenues and Costs live in the Income Statement instead.
Each row shows the account name, the account number, the total balance, and the change for the current year. Sections expand and collapse with the arrow next to the name, and the search bar at the top lets you find an account by name, number, or type.
At the bottom of the page a summary row shows the overall Net Worth of the workspace: the difference between what you own and what you owe.
To keep a business's costs separate from the family's you have two routes. If telling them apart is enough, create an organisational account — «Business» — and hang its costs and revenues underneath: reports group them together, and tags give you the cross-cutting view. If the two worlds must never touch, you need a second accounting space, but that is included only in the Ultra plan: with Free and Premium you get one. Either way, don't mix the cash accounts.
Moving and reordering accounts
Every account of yours has, on the right, a drag handle (the dotted icon). With a mouse you just drag; with your finger you press and hold the handle first, then drag: that is the protection that lets the tree keep scrolling normally.
While you drag, each row has three zones. Above or below a sibling account an insertion line appears: that is reordering, the order you choose stays, and account numbers are reassigned automatically. Over the middle of a folder the row gets highlighted: that is moving, the account changes its place in the tree and takes all its sub-accounts along, numbers included. A closed folder opens by itself if you hold the account over it for a moment.
The app refuses drops that would break your reports, and tells you so: an account cannot enter a folder of another family, cannot end up inside one of its own descendants, and system accounts cannot be moved. The handle disappears where the gesture would make no sense: during a search, and when alphabetical order is on, because there the position is decided by the name.
Currencies and balance colors
Every account has its own currency, chosen when you create it. You can keep your checking account in euros and an investment account in dollars: Cashfulness records each entry in the account's currency and converts totals where needed.
Balances use semantic colors: at a glance you can tell the nature of each figure, for example Liabilities apart from what you own, and Net Worth apart from everything else. Color never replaces the accounting sign, it just makes it easier to read.
Creating an account with the wizard
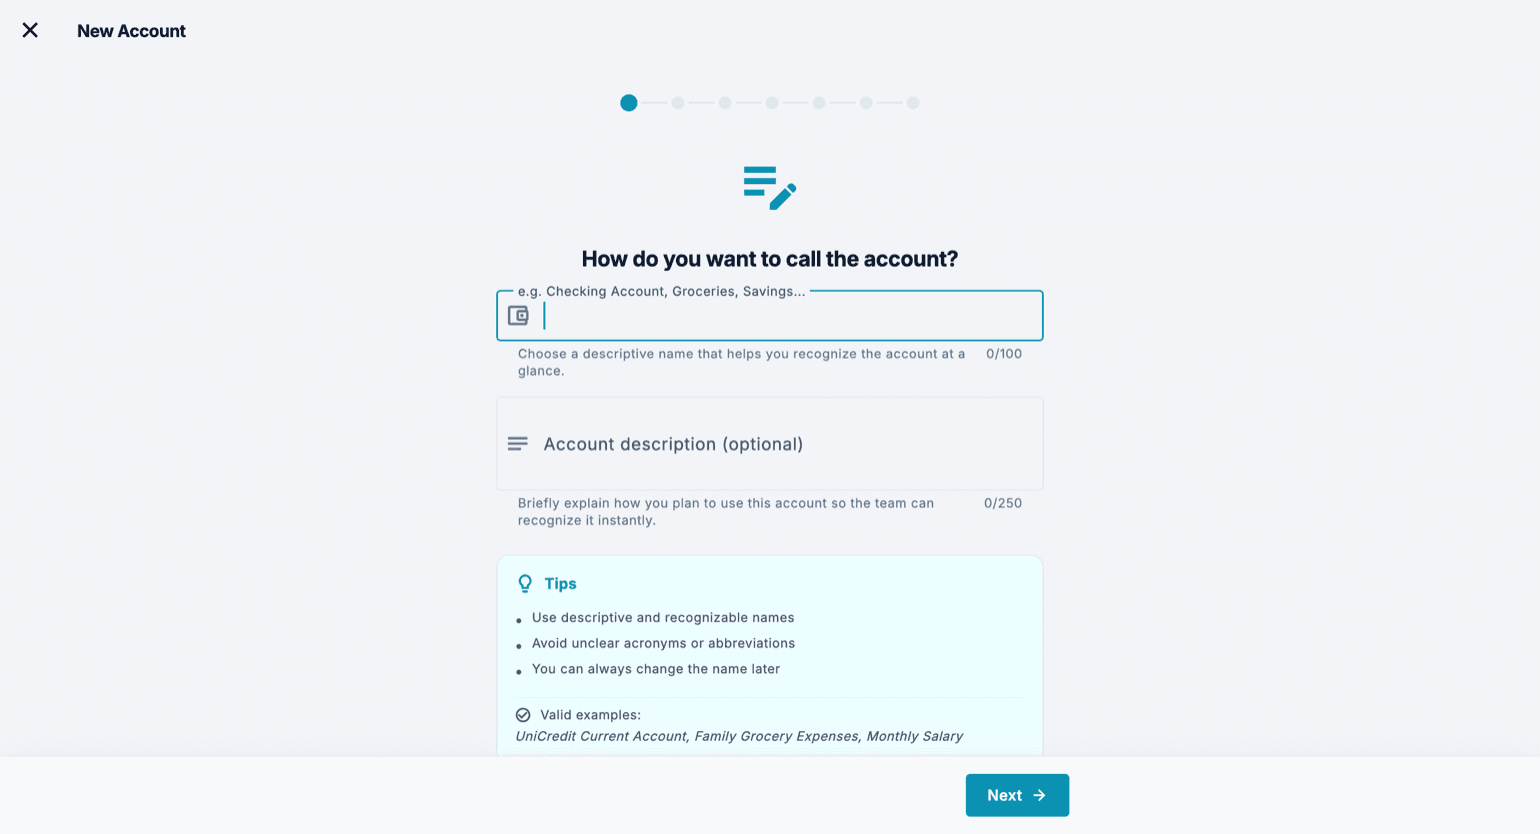
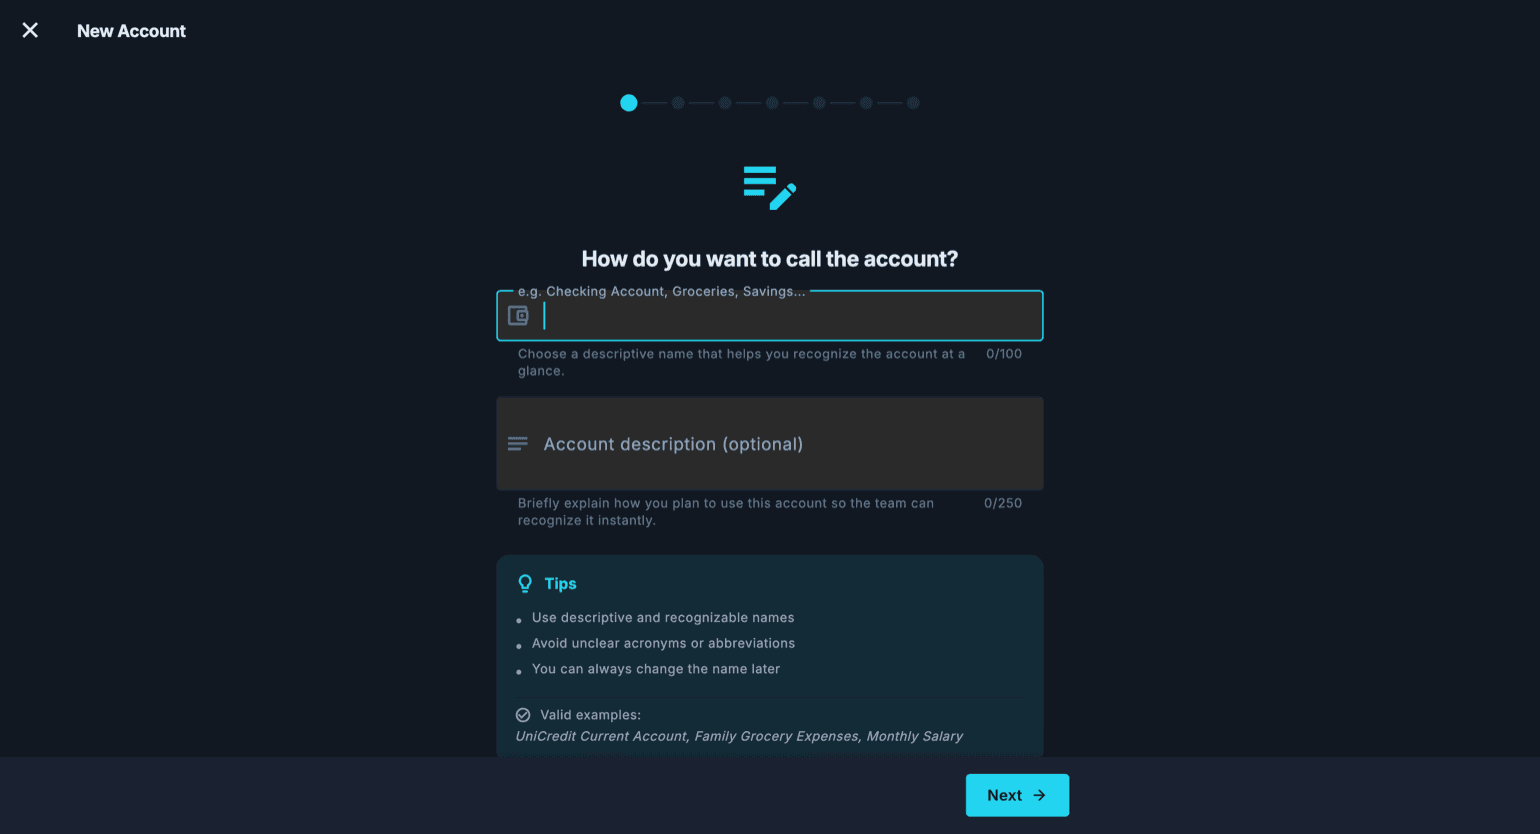
The plus button in the bottom-right corner opens the New Account wizard, which guides you step by step. The wizard asks only for what it needs, one step at a time, showing suggestions and valid examples along the way.
If you create an account directly under Liabilities, the subtype step also offers the entries that live one level down — credit card, loans, taxes due, mortgage — and says straight away which folder it will land in; if that folder does not exist yet, the app creates it when you save.
You can also create an account without dropping what you are doing: at the bottom of every account drop-down, in the transaction form and in the other forms that record entries (payments due, contracts, recurring entries, mortgage, purchases and sales, depreciation, revaluations), you will find the Create new account entry, even before you type anything. If you have already typed a name, the wizard starts from it, and at the end you are back where you were, with the new account already selected.
- Give the account a descriptive, recognizable name, for example the bank's name or the account's purpose. You can add an optional description, useful if you share the workspace with other people.
- Choose the account type: it determines which section of the tree the account will live in and how its balance behaves.
- Select the parent account directly from the tree: the new account will sit underneath it, inheriting its position in the structure.
- Set the account properties based on how you will use it (see the next section).
- Confirm: the account appears in the tree right away, ready to receive entries.
Account properties
While creating an account (and later when editing it) you can set properties that change how it behaves. Bank accounts, credit cards and investment or crypto accounts join Reconciliation on their own: if you don't need one there, turn on «Exclude from reconciliation». Subscriptions, on the other hand, are no longer marked on the account: they are recorded as contracts in Tools → Subscriptions and Utilities.
Market valuation: designed for investments, it lets you update the account's value periodically through Investment Updates. Depreciation: for assets that lose value over time, such as a car or a device, so the chart of accounts reflects the real value rather than the purchase price.
Liquidity and non-liquidity: here the choice really does move the account, because liquidity is not read from the subtype but from where the account sits in the tree. Before moving it the app tells you where it is taking it, and mind that «Liquid» and «Non-liquid» exist in both asset branches: read the whole path, not just the name.
An account that is not only yours has three different routes, and you pick between them by who records the entries. If only you record but the asset is half someone else's, you need the ownership share: in the wizard turn on «Ownership share» and enter your percentage in «Your share». Entries stay at full value — if €1,000 comes in the app records €1,000, not 500 — because otherwise the comparison with the bank statement would no longer add up. The share is a lens: it changes only how much that account weighs in Available liquidity and Net worth, and it does not apply at all in the Income statement. It is set account by account, never on a folder: two properties in the same container can have different shares.
If instead the two of you both record, each from your own app, the share is not what you need: use «Share account» from the account page. An account of their own is created in the other person's space, with their own entries, and the account then reads two ways: «My part» is your rows and it is the figure that feeds your indicators, while «Actual account balance» is everyone's rows together and it is the one to compare with the statement. The ownership share is deliberately excluded here, because your part is already only what you recorded. The third route is a different thing again: sharing the whole accounting space, with its roles and permissions.
Only balance sheet accounts can be shared, meaning assets and liabilities, never income or expense categories. Sharing exists to piece back together something that outside the app is a single thing: there is one bank account, and one statement to reconcile against. An expense category is not a single thing in the world, it is how each person classifies their own spending, and it stays theirs. This is not a limitation, it is the mechanism: because each person records their own rows with their own categories, your cost reports show only what you spent.
Expenses you share: who pays, and who carries them as costs
One joint account, two people, and the question that always comes back: how much did it cost me? Cashfulness does not split an expense between two accounting spaces on its own, but the accounts you already have will get you there, down to the cent. There is a single principle: whoever records an expense carries all of it in their own costs; to carry only half, the other person's half goes to an account called «Between us», a liability that tracks what the two of you owe each other; and every line on the joint account's statement is recorded by one person only, in full. Two recipes follow from that, and whoever pays writes exactly the same entry in both.
In the first recipe only you record. The joint account stays whole in your space, with the balance it already has, and next to it you create «Between us»: type Liabilities, inside «Short Term», with «Ownership share» switched off. At the «Opening balance» step enter how much of the money now sitting in the joint account belongs to the other person, answer «No, it is a position I already had», and give the date from which the joint account has held it. Do not answer «Yes» and point at the joint account: the balancing entry would land there, and the joint account would grow without a single euro coming in.
From then on a shared expense becomes one entry with three rows, written from the «Other» type in the transaction form: the joint account on the Credit side for the full amount, your expense account on the Debit side for your half, «Between us» on the Debit side for theirs. The other person's half is rounded down to the cent, and the odd cent stays with whoever pays. Money they pay into the joint account, their salary for instance, goes to «Between us» in full, and your own personal spending goes to your own costs in full.
In the second recipe you both record, each from your own space, and you share both accounts: the joint one and «Between us». Whoever pays writes as before; the other person records their half as an expense paid from «Between us», and the statement lines that are theirs they record on the joint account in their own space. To move from the first recipe to the second you shift the balance of «Between us», call it X: in your space «Between us» X on the Debit side and the joint account X on the Credit side, in theirs the joint account X on the Debit side and «Opening Balances» X on the Credit side. The invitation sends no notification at all: the other person finds it under Settings, Accounting Spaces, Manage Accounting Space, «Accounts shared with me».
Three things worth knowing before you start. In the first recipe Liquid available counts the whole joint account, the other person's money included: yours is the joint account minus «Between us». On a shared account the other person can see your entries, with the description and the names of the other accounts in each entry, the category included. And on a shared account reconciliation only shows and ticks your own entries, so against the full statement the Difference never reaches zero: the statement is checked against the «Actual account balance», on the shared account screen.
- The joint account already holds €3,000 from the initial setup, and you leave it alone. You create «Between us» and enter 1,500 at the «Opening balance» step: «Between us» gets 1,500 on the Credit side, «Opening Balances» 1,500 on the Debit side. Your net worth drops by 1,500, and rightly so, because that money was theirs.
- Their salary, 1,800, lands in the joint account: joint account 1,800 Debit, «Between us» 1,800 Credit.
- A grocery run of 120 paid from the joint account, one entry with three rows: joint account 120 Credit, Groceries 60 Debit, «Between us» 60 Debit.
- A utility bill of 87.35: their half, rounded down, is 43.67. Joint account 87.35 Credit, Utilities 43.68 Debit, «Between us» 43.67 Debit.
- A dinner of your own, 80, again paid from the joint account: it is all yours. Leisure 80 Debit, joint account 80 Credit.
- End of the month: the joint account shows €4,512.65, exactly what the statement says. «Between us» shows €3,196.33, the other person's money sitting in the joint account. Your share of the joint account is the difference, €1,316.32, and your costs hold €183.68.
- If you both record, the same month simply changes sides: they record their salary on the joint account in their own space, and write their two halves as expenses paid from «Between us», Groceries 60 and Utilities 43.67. The check becomes: the actual balance of the joint account equals the statement, and the actual balance of «Between us» is zero.
Giving a balance to an account created after setup
When you open your Workspace, the initial review asks for the balance of every account and writes the opening transactions for you. But the review happens only once, and accounts you create in the following months start at zero: a current account opened in March, or a savings book you had forgotten, start empty even though there is real money in them.
That is why the New Account wizard has a final, skippable step asking for the starting balance. It only appears on balance sheet accounts — a starting balance does not exist for an expense or a revenue account — and if you leave the amount empty, nothing is created. If you do enter an amount, the wizard asks you one single question: does this money come from an account you already have in Cashfulness?
Answering that question correctly is what matters, because it decides whether your net worth changes. If the money comes from an account you already have (you moved it from your current account to the savings book), it is an internal transfer: the counterpart goes to the account you pick and your net worth stays the same. If instead you are declaring something the app did not know about, the counterpart goes to “Opening Balances” and your net worth changes: it rises if you are declaring something you own, and falls if you are declaring a debt, such as a mortgage or a card balance.
For liabilities, enter what you owe as a positive number: the app takes care of the accounting sign.
The wizard also asks since when you have owned what you are declaring, and the field starts empty. The entry used to be dated to the day you filled the wizard in: a house you had owned for ten years, recorded in August, showed up as wealth that had grown this year, and the “since January” change on the home page swelled by a figure that had never grown at all. Put the real date in and the year's figures stay right. The Income Statement does not move either way: an opening transaction touches the account and Net Worth, never a revenue or a cost, so no date can change the profit of a past year.
Correcting a review you have already done
The initial snapshot is taken only once, but it is not set in stone. The entry the review generated lives in the Register like any other transaction: search for “Opening” to find it, open it, and from there you can correct amounts, add a line for an account you had forgotten, or move the date to the day you actually took stock.
This is the right way to fix a balance you mistyped during setup, and it is better than an adjusting entry: by correcting the opening, the reports for every period line up again, whereas an adjustment dated today would leave the months in between wrong.
Hidden accounts
Not every account is needed every day: a closed or rarely used account can clutter the tree. You can hide it without deleting it, so its accounting history stays intact.
The eye icon in the toolbar shows or hides hidden accounts: when it is off you only see active accounts, when you turn it on they all reappear.
Reconciling an account
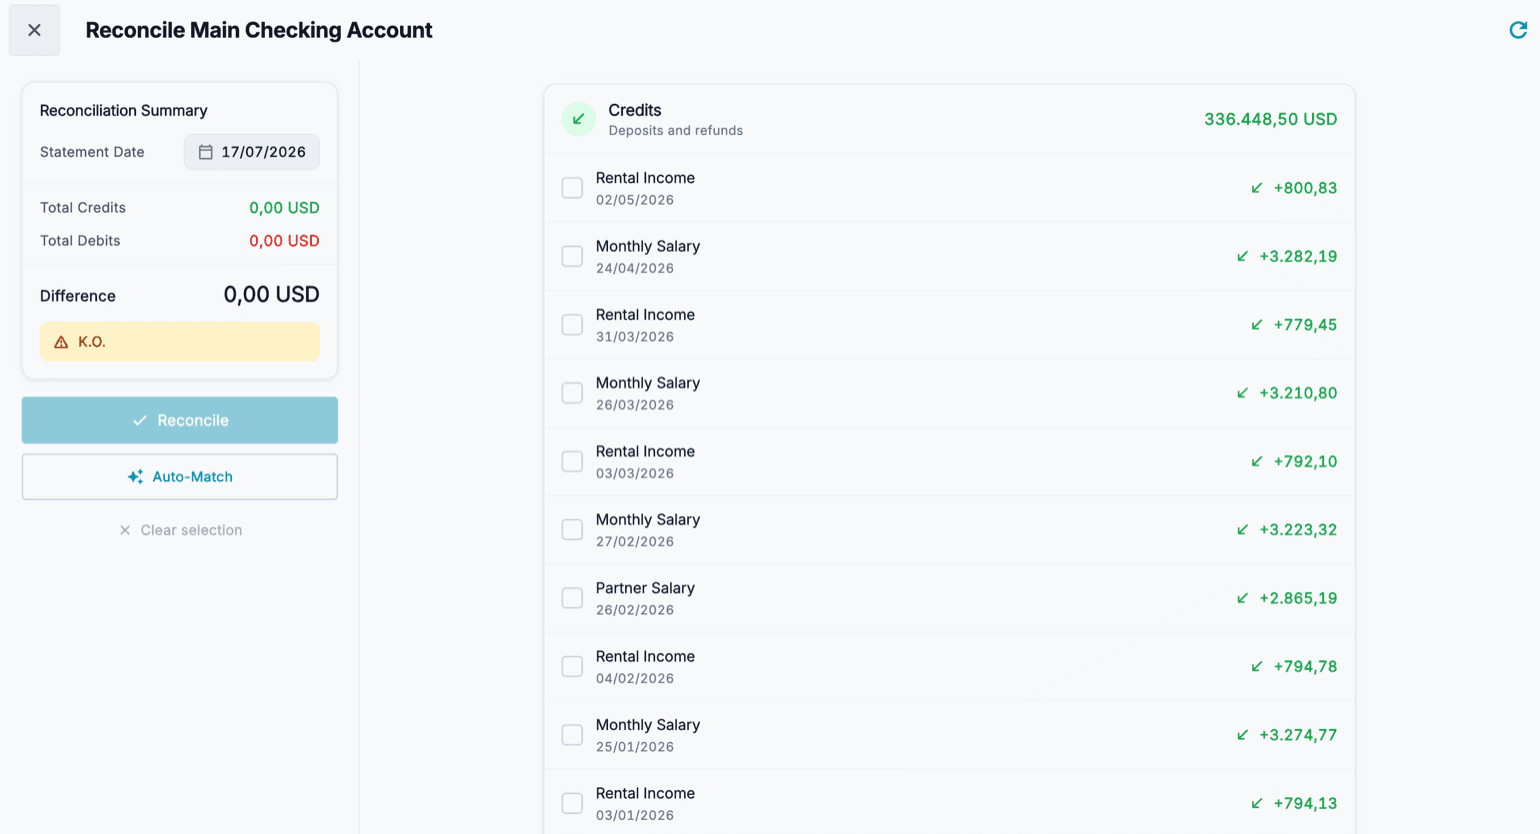
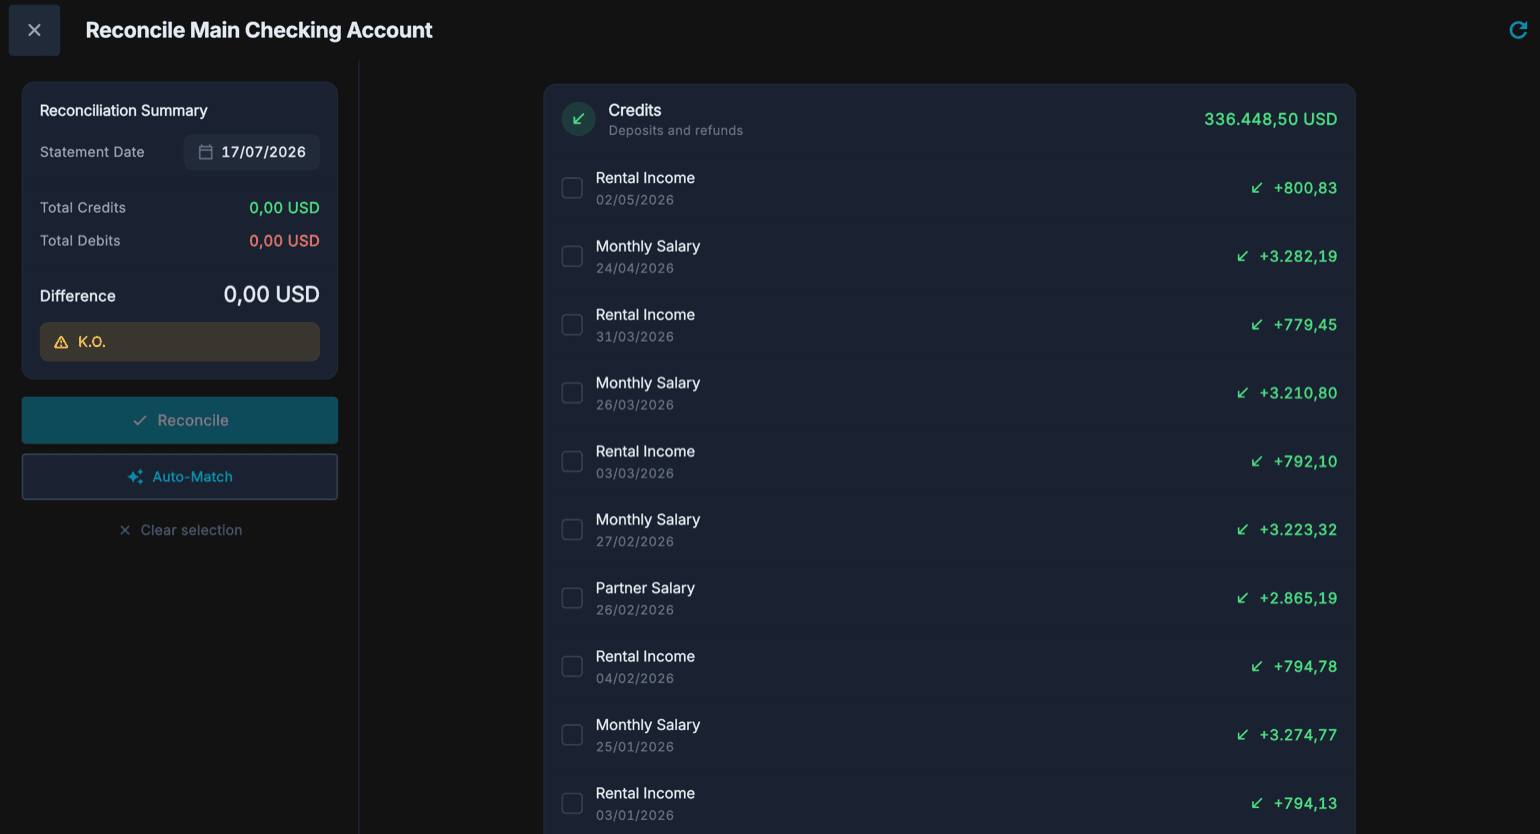
Reconciliation is the moment you compare Cashfulness against your bank statement. From the Reconciliation section you pick the account and get the list of recorded entries, split between Money in (deposits received and refunds) and Money out (expenses).
You tick every entry you find on the statement: Total money in and Total money out update as you go, along with the Difference. As long as the balance check does not match, the app flags it; once the Difference reaches zero you can confirm with the Reconcile button.
- Open Reconciliation and choose the account to reconcile.
- Set the reference date of the bank statement.
- Tick the entries that appear on the statement one by one, both under Money in and under Money out.
- Check the Difference at the bottom: it must reach zero. If it does not, look for the missing or extra entry.
- Press Reconcile to confirm: the ticked entries are marked as reconciled.