
The Register
The Register gathers every transaction of the active workspace into a single chronological list. This is where you look up past activity, record new entries, and act on existing ones. Behind the scenes, every transaction is double-entry: at least two movements that balance each other out, but the app builds them for you from a simple form.
The Register at a glance
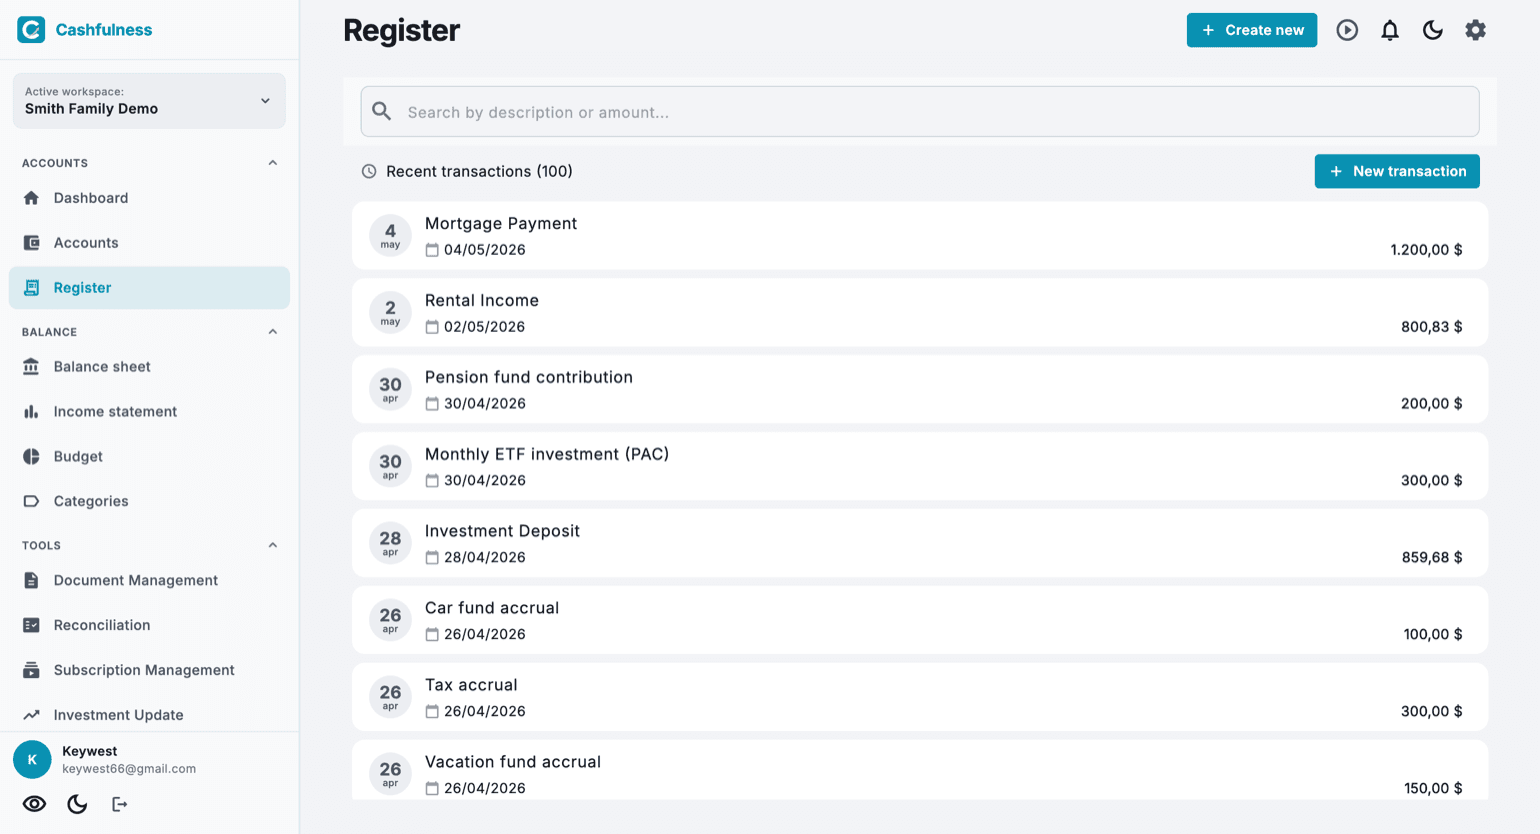
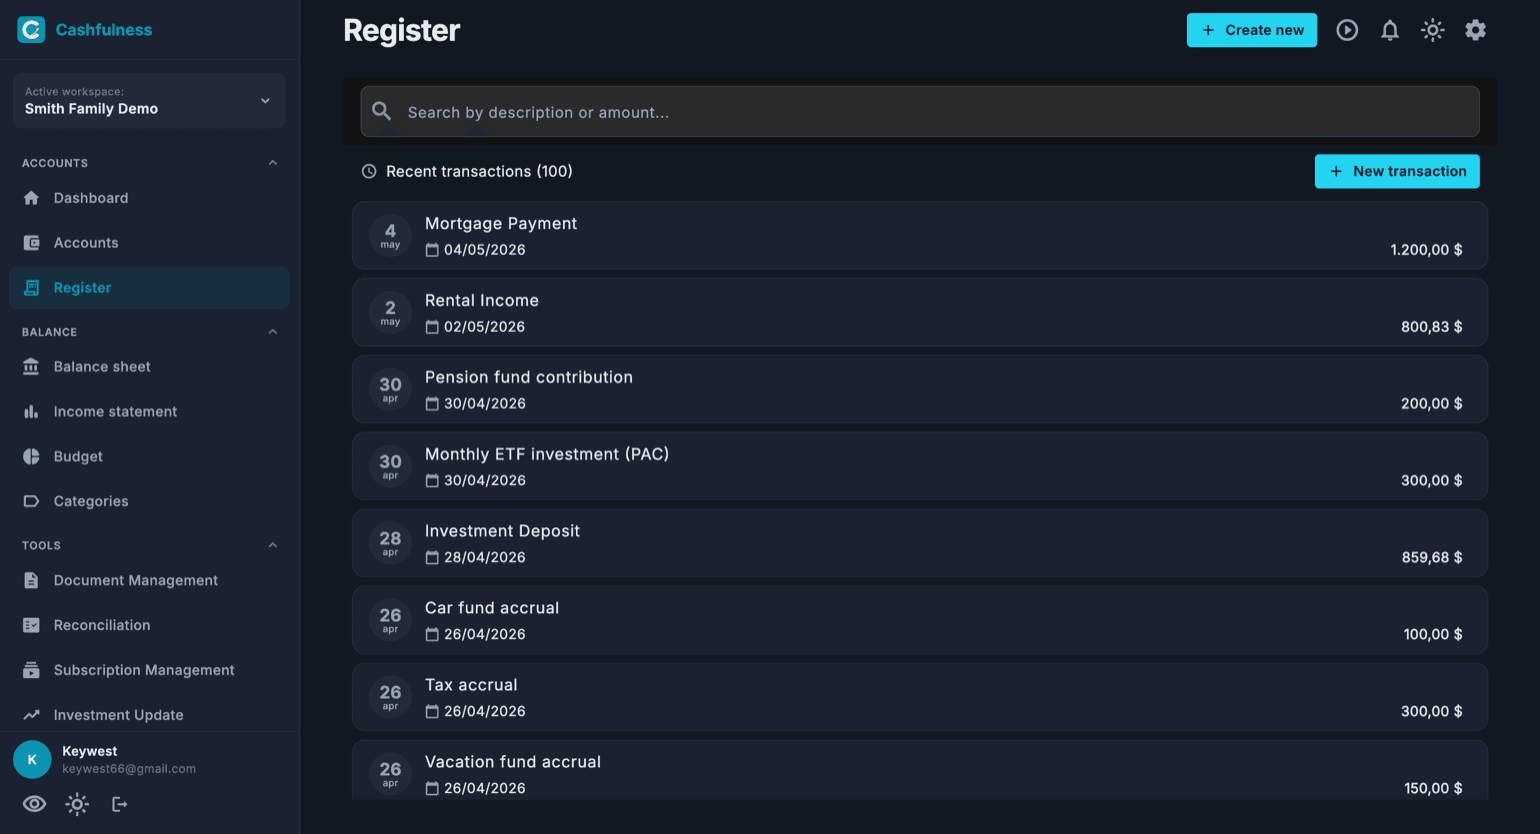
Opening the Register from the sidebar shows the latest transactions in the workspace, sorted from the most recent. Each row displays the date, the description, and the amount of the entry.
The bar at the top lets you search by description or amount: start typing and the list filters as you go. In the top right you will find the New transaction button, which opens the entry form.
On some rows, next to the description, you'll see a small label: it means the app created that entry, you didn't type it in. It appears on investment valuations, depreciation entries, opening balances, recurring entries and rows that came from an import. Rows without a label are the ones you wrote by hand.
Creating a new transaction
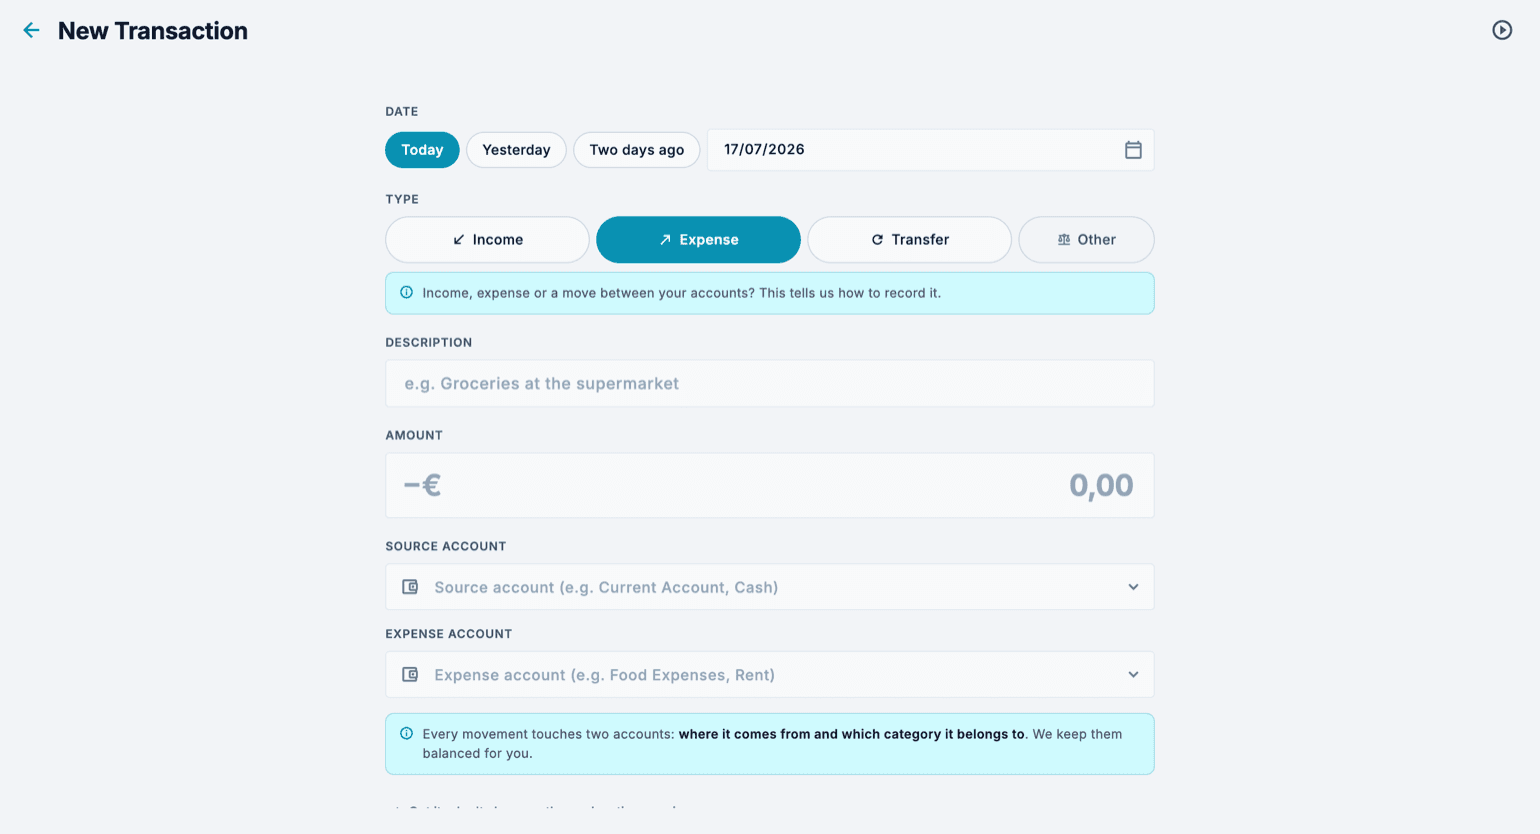
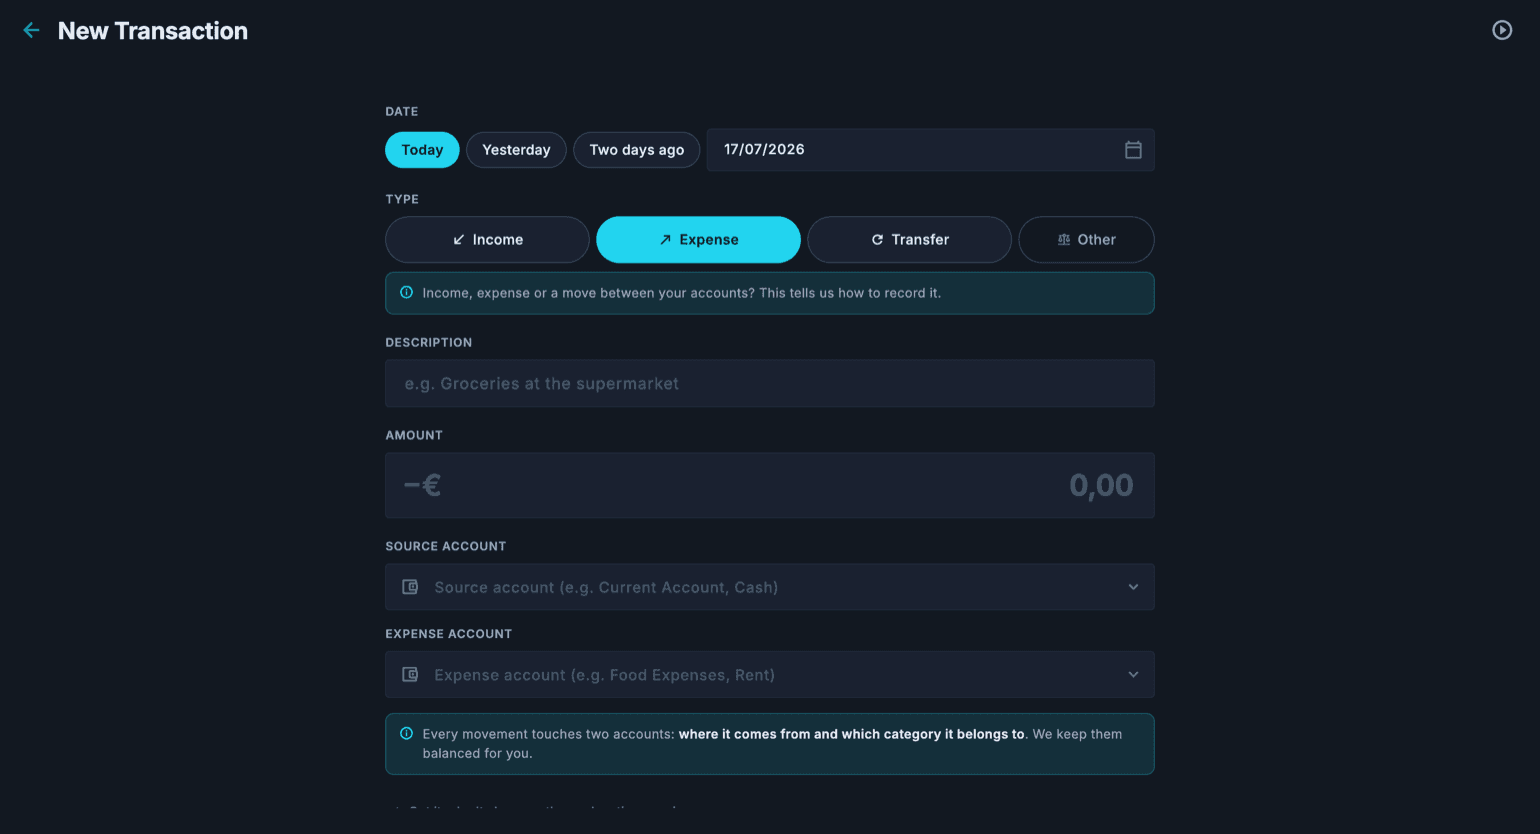
The entry form guides you field by field. First pick the type of entry: income, expense, a transfer between your own accounts, or other for special cases. Based on the type, the app suggests the right accounts to link.
For the date you get quick shortcuts (today, yesterday, the day before) alongside the calendar picker, so logging the last few days of spending takes a single tap.
- From the Register, press New transaction (or the plus button in the bottom right corner).
- Pick the date with the quick shortcuts or from the calendar.
- Select the type: income, expense, transfer, or other.
- Write a description, for example Grocery shopping.
- Enter the amount of the entry.
- Choose the source and destination accounts: for an expense, that means the account the money leaves from and the expense account it belongs to (such as Groceries or Rent).
- Confirm: the transaction appears in the Register right away and the balances of the accounts involved are updated.
Starting from an account
You can also open an account from the Accounts tab and create the entry from there: the account is already preselected, and where it goes depends on what kind of account it is. An account where money sits, like your card or cash, is the one that pays or receives, and it stays there even if you change the type of entry. An expense or income account, like Internet and Phone, goes into the category instead, and all that is left to choose is the account you pay with or receive into. With «Stay here for the next one», the type, the date and the account that paid stay in place after saving, and if you started from an expense or income account, so does the category.
On an account's page, above the list of entries, there is also a bar for typing one line after another, like in a GnuCash account register. As you type the description, the app suggests the entries already made on that account: picking one brings in the description, counter-entry and last amount, which is already selected so you can type over it. The counter-entry also completes as you type, and if the account does not exist, the app offers to create it.
After saving, the bar clears but keeps the date, and the cursor goes back to the description: if you are copying out Tuesday's receipts, you pick the date only once. It goes back to today when you leave the account page and come back in. For an entry with several lines, the full form button carries over what you have already typed.
Double-entry, without the worry
When you save a transaction, Cashfulness generates at least two accounting movements that balance each other: the sum of debits and credits always equals zero. This is what keeps your balances, the Balance Sheet, and the Income Statement consistent.
In practice, an expense decreases an asset (your checking account, for instance) and increases an expense account; a transfer moves value between two of your own accounts without touching your net worth. You fill in the simple form, and the app guarantees the accounting rigor.
Transactions in other currencies
If the entry involves accounts held in different currencies, each account receives the amount in its own currency: the app suggests the European Central Bank rate on the date of the entry and shows you the converted amount before you save.
If your bank statement shows a different figure, for example because the bank applied its own rate, choose Other and, in the account's row, type the amount that actually arrived: the rate is recalculated automatically. This way every account shows exactly the money it holds, and the report totals are converted into the space's main currency.
Editing, duplicating, and recovering from the trash
Every row in the Register, like every row in the list of entries on an account's page, ends with the ⋮ button: it opens a menu with Edit, Clone and Delete, without having to open the row. On a phone, the same menu also opens when you press and hold the row. The button and the menu are there if you can edit entries. Clone comes in handy for recurring entries, such as a loan installment or a repeating expense: it creates a copy dated today, and you only change what you need to. The same actions are also in the opened row.
Deleted transactions do not vanish immediately: they go to the trash, where they remain recoverable. From there you can restore them to the Register or delete them permanently once you are sure you no longer need them.

Step-by-step entries
Below you will find the entries that happen to everyone, one per section: your salary, a purchase on the credit card, paying the credit card statement, a transfer between accounts, a cash withdrawal at the ATM, the mortgage payment and a refund. For each one you will find what happens in plain words, the entry Cashfulness saves, line by line, with sample amounts, and the steps in the app. If you come from GnuCash you will recognize the same entries: only the form you write them in changes.
To read the entries you need one rule: assets (checking account, cash, savings account) and costs increase on the Debit side; liabilities (the credit card, the mortgage) and income increase on the Credit side. In every entry the Debit total equals the Credit total, that is, the lines add up to zero.
You always start from New transaction in the Register (on the phone, the plus button in the bottom right corner). In simple mode you do not choose the side: of the two accounts in the form, the first goes on the Credit side and the second on the Debit side. For an entry with more than two lines, like the mortgage payment, or to choose the side yourself, as in the refund, you use Other, which opens the advanced mode: there each line has its own account, its own side and its own amount, and the panel at the bottom with Total Debit and Total Credit tells you when the entry balances.
Step by step: your salary into the checking account
Your salary arrives in your checking account: the account balance goes up and, at the same moment, you record income. It is an Income entry. Here you record the net amount that reaches the account; if you also want to track the deductions, you need an entry with several lines using Other.
The entry, with a salary of €2,150.00: Checking account €2,150.00 on the Debit side (the asset increases); Salary €2,150.00 on the Credit side (the income is recorded). Total Debit €2,150.00, Total Credit €2,150.00: the entry balances.
- From the Register, press New transaction and pick the date the salary arrived.
- As the type, choose Income.
- Write the description, for example September salary, and the amount: 2,150.00.
- In «Income Account» choose Salary; in «Receiving Account» choose the Checking account.
- Press «Save Transaction».
Step by step: a purchase on the credit card
You pay for a dinner with your credit card. Your checking account does not move for now: what grows is your debt to the bank that gave you the card, which in Cashfulness is a liability account, and you record a cost. It is an Expense, with the card as the account the money leaves from.
The entry, with a €64.50 dinner: Restaurants €64.50 on the Debit side (the cost is recorded); Credit card €64.50 on the Credit side (the debt increases). Total Debit €64.50, Total Credit €64.50: the entry balances.
- From the Register, press New transaction and pick the date of the purchase.
- As the type, choose Expense.
- Write the description, for example Pizza dinner, and the amount: 64.50.
- In «Source Account» choose the Credit card; in «Expense Account» choose Restaurants.
- Press «Save Transaction».
Step by step: paying the credit card statement
At the end of the month the bank charges the credit card statement total to your checking account. It is not a new expense: you have already recorded the purchases one by one. The checking account goes down and the card debt drops by the same amount, so it is a Transfer between two of your accounts.
The entry, with a €412.30 statement: Credit card €412.30 on the Debit side (the debt decreases); Checking account €412.30 on the Credit side (the asset decreases). Total Debit €412.30, Total Credit €412.30. No cost: your net worth does not change.
- From the Register, press New transaction and pick the date of the charge.
- As the type, choose Transfer.
- Write the description, for example September card statement, and the amount: 412.30.
- In «From Account» choose the Checking account; in «To Account» choose the Credit card.
- Press «Save Transaction».
Step by step: a transfer between two of your accounts
You move some money from the checking account to the savings account. It stays yours: one account goes down, the other goes up, and your net worth does not change. It is a Transfer.
The entry, with a €5,000.00 transfer: Savings account €5,000.00 on the Debit side (the asset increases); Checking account €5,000.00 on the Credit side (the asset decreases). Total Debit €5,000.00, Total Credit €5,000.00: the entry balances.
- From the Register, press New transaction and pick the date of the transfer.
- As the type, choose Transfer.
- Write the description, for example Transfer to savings account, and the amount: 5,000.00.
- In «From Account» choose the Checking account; in «To Account» choose the Savings account.
- Press «Save Transaction».
Step by step: a cash withdrawal at the ATM
You withdraw cash at the ATM: the money moves from the checking account to your wallet. You have not spent anything, you have only moved the money; you will record the expenses when you use the cash. It is a Transfer to the Cash account.
The entry, with a €200.00 withdrawal: Cash €200.00 on the Debit side (the asset increases); Checking account €200.00 on the Credit side (the asset decreases). Total Debit €200.00, Total Credit €200.00: the entry balances.
- From the Register, press New transaction and pick the date of the withdrawal.
- As the type, choose Transfer.
- Write the description, for example ATM withdrawal, and the amount: 200.00.
- In «From Account» choose the Checking account; in «To Account» choose Cash.
- Press «Save Transaction».
Step by step: the mortgage payment
The bank charges the mortgage payment to your checking account. The payment is made of two parts: the principal, which pays back part of the loan and makes the debt go down, and the interest, which is the price of the loan, that is, a cost. You find both parts in the bank's amortization schedule. Three accounts, so three lines: you use Other. Recording the whole payment as a transfer to the mortgage would make the debt go down faster than it really does and would hide the interest, which is a cost.
The entry, with a €780.00 payment made of €520.00 of principal and €260.00 of interest: Mortgage €520.00 on the Debit side (the debt decreases); Interest expense €260.00 on the Debit side (the cost is recorded); Checking account €780.00 on the Credit side (the asset decreases). Total Debit €780.00, Total Credit €780.00: the entry balances.
- From the Register, press New transaction, pick the date of the charge and, as the type, choose Other: the form switches to advanced mode, with the ledger rows.
- Write the description, for example September mortgage payment.
- First line: choose the Checking account, select Credit and enter 780.00.
- Second line: choose the Mortgage, leave Debit and change the suggested amount to 520.00; in the line the app writes «liability: the debt goes down».
- Third line: if the app has not already added it with the missing amount, press «Add row». Choose Interest expense, on the Debit side, 260.00.
- When at the bottom Total Debit and Total Credit are both €780.00 and «Debit = Credit · balanced» appears, press «Save entry».
Step by step: a refund on a purchase
You return a pair of shoes and the shop credits €39.90 back to your checking account. It is not a gain: it is the earlier expense being cancelled. That is why the refund is not recorded as Income, which would count it among your income, but as a reversal of the cost, with Other and two lines.
The entry, with a €39.90 refund: Checking account €39.90 on the Debit side (the asset increases); Clothing €39.90 on the Credit side (the cost is reversed). Total Debit €39.90, Total Credit €39.90. In the Income Statement the clothing cost goes down by €39.90.
- From the Register, press New transaction, pick the date of the credit and, as the type, choose Other.
- Write the description, for example Refund for returned shoes.
- First line: choose the Checking account, select Debit and enter 39.90.
- Second line: choose Clothing; the app already suggests 39.90 on the Credit side, and the line shows «cost: reversal».
- When «Debit = Credit · balanced» appears at the bottom, press «Save entry».