
Settings
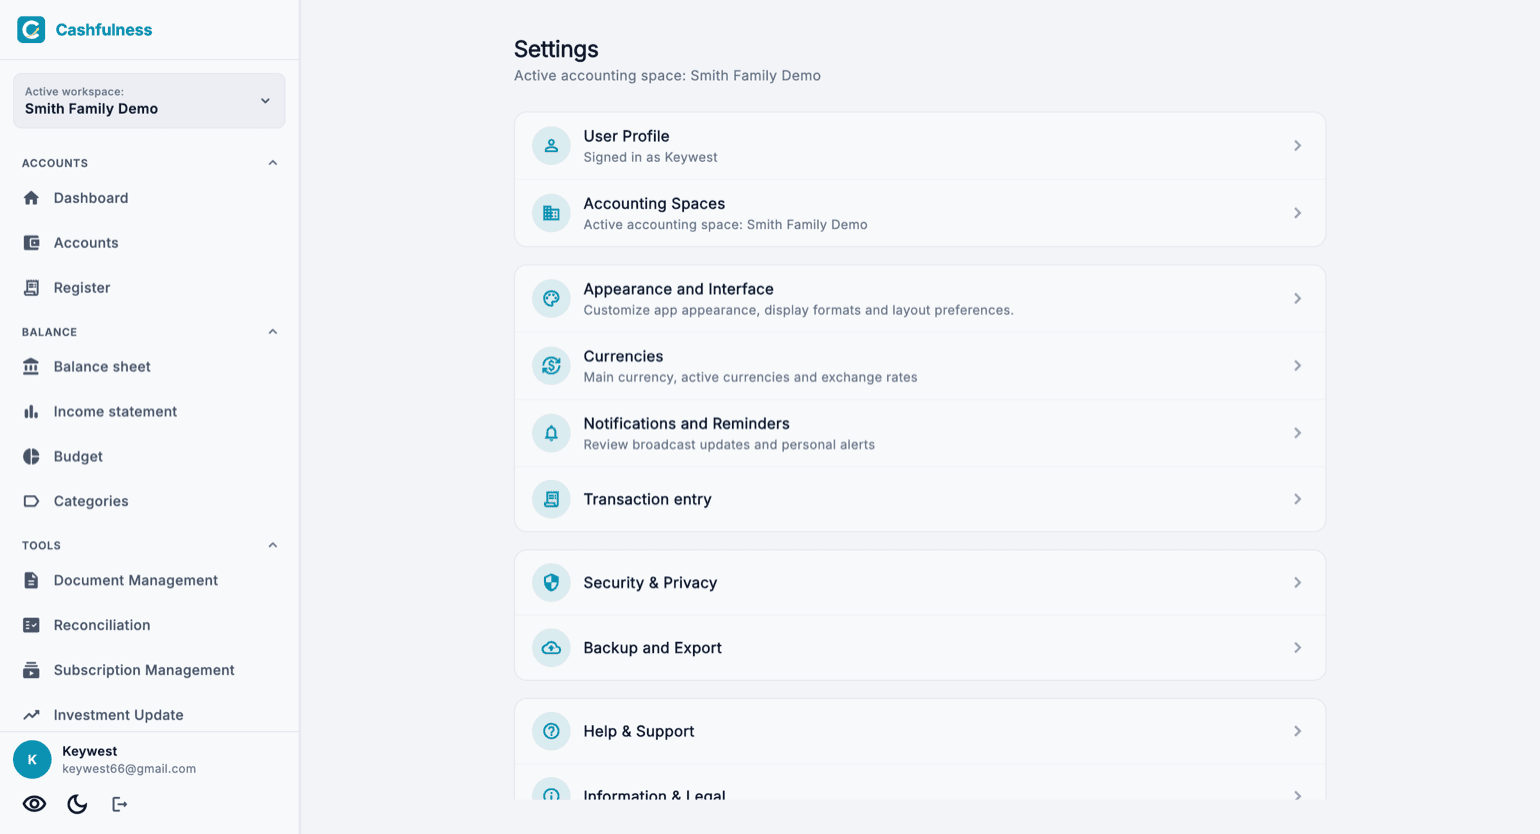
Settings is the single place where you personalize Cashfulness: you reach it from the gear icon in the top right corner or from the Settings menu entry. From here you manage your profile, the app appearance, currencies, notifications, backups and your workspaces.
One hub for every setting
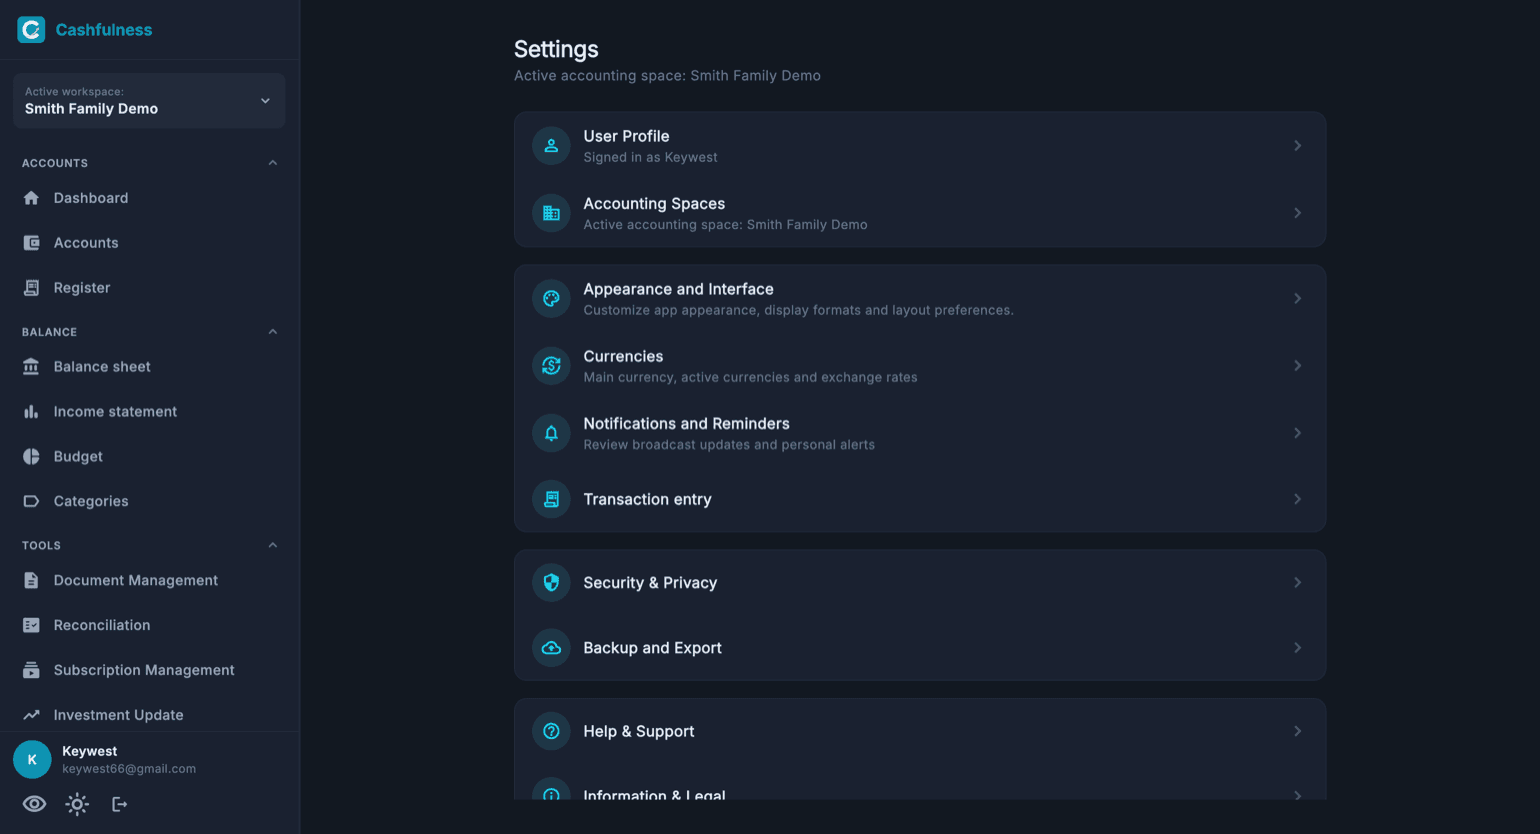
The Settings screen gathers every configuration area in a list of cards: User Profile, Workspaces, Appearance and Interface, Currencies, Notifications and Reminders, Transaction entry, Security and Privacy, Backup and data, Help and support.
At the top you always see which workspace is active: some settings, such as backups, apply to a single workspace, while others, such as your profile and appearance, belong to your account across all workspaces.
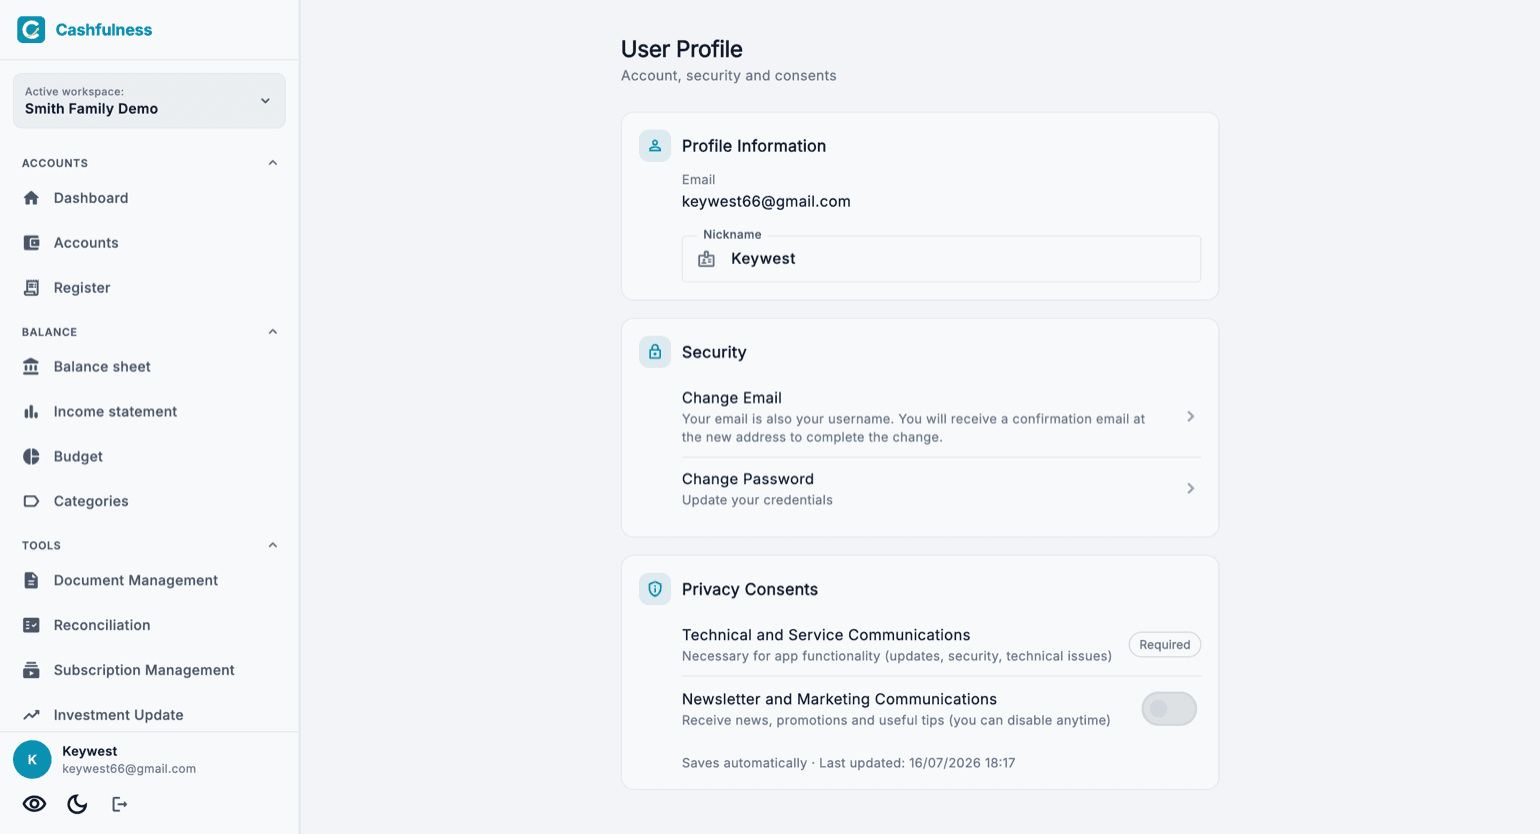
User profile: account, security and consents
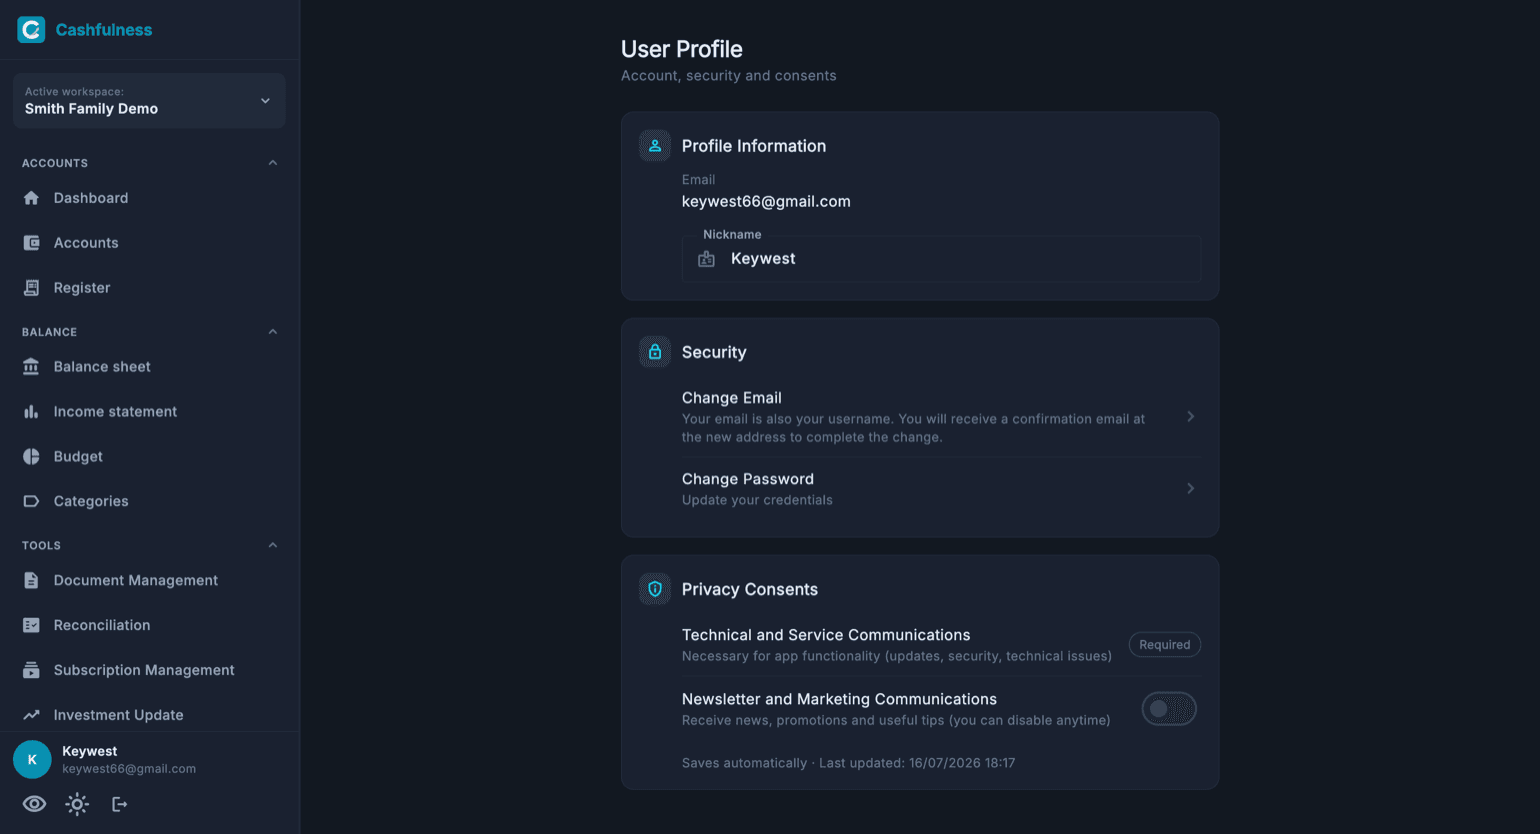
User Profile shows your account information: the sign-in email is displayed as read-only, while the nickname can be edited freely and is the name you appear with in the app and in shared workspaces.
The Security section lets you change your password and, if needed, your email address: the email is also your username, so you will receive a confirmation message at the new address to complete the change.
In Privacy Consents you manage your communication preferences: technical and service communications are mandatory because the app needs them to work, while newsletters and commercial communications can be switched on or off with a toggle. Every change is saved automatically.
In Security & Privacy there are two switches that look alike and do different things. Device quick login applies after Log out: you get back in with your fingerprint, face or device PIN instead of typing your password. Require authentication locks the app every time you open it or come back to it, and asks you to unlock: it is the one you want if the phone passes from hand to hand.
Two-factor sign-in, also in Security & Privacy, adds to your password a six-digit code that changes every thirty seconds, generated by an authenticator app on your phone (Google Authenticator, Microsoft Authenticator, 1Password, Authy and the like). To turn it on, scan the QR code with the app, or copy the key if the app is on the same device, and enter the first code. Right after that Cashfulness shows you ten backup codes, only once: save them in a password manager. The other signed-in devices are signed out, and from then on, every time you sign in, the app asks for the code after your password.
If you lose your phone, tap «I lost my phone: use a backup code» when you sign in: each code works only once and turns two-factor sign-in off, so you can turn it back on with your new phone. If you have lost the codes too, write to info@cashfulness.com from your account's email address: once we have checked it's you, we turn it off for you. To turn it off yourself, or to get ten new backup codes, you need the code the app is showing at that moment.
Appearance, notifications and financial preferences
In Appearance and Interface you choose the light or dark theme, the color palette and the app language, along with display formats and layout preferences.
Notifications and Reminders is where you review updates, alerts and communications, while the financial preferences, such as the transaction entry options, let you adapt the app behavior to the way you work.
The notification list can be thinned out: one you have already read carries a «Remove from list» button, and at the top of the page there is «Remove the read ones», which clears them all at once and tells you how many it removed. Unread ones have no button, and that is deliberate: a notification you never opened, gone with one tap, is a notification lost without knowing it. The word «remove» is chosen carefully — the notification leaves your list, it is not deleted: the record that it reached you and that you opened it stays, and that record is the only way we can tell when notifications stop working.
If notifications don't arrive, the first thing to check is at the top of the Notifications page: the state of the system permission. If you've never granted it, the app asks you from there after telling you what it's for, and it also asks the first time you note a payment with a reminder. If you've denied it, the system dialog doesn't come back: the «Open settings» button takes you to the right page, and when you return the card updates by itself. On Windows and Linux there are no system notifications, and the page says so: there, messages arrive inside the app.
Notification preferences, next to the inbox, show the same permission card and the four categories: Payments and reminders, Things to sort out, Periodic summary and Messages from Cashfulness. Inside the app messages always arrive; the switch next to each category decides whether it also reaches you as a device notification. Turning off «Payments and reminders» removes the reminders scheduled on your phone right away, and the payment's page says so.
«Alerts on your workspace» is the third entry, and it applies to the active workspace. They are all off until you turn them on: recurring to confirm, accounts to reconcile, investments to revalue, a budget near its limit, an account balance below an amount, a weekly or monthly summary. They arrive as «Things to sort out», one message a day at the time you choose and only if there is something to say. You decide the intensity: Essential repeats something still pending at most every seven days, Regular every day while it is pending, Intense checks every hour and tells you anything new right away. The tone doesn't change, only how often.
Currencies
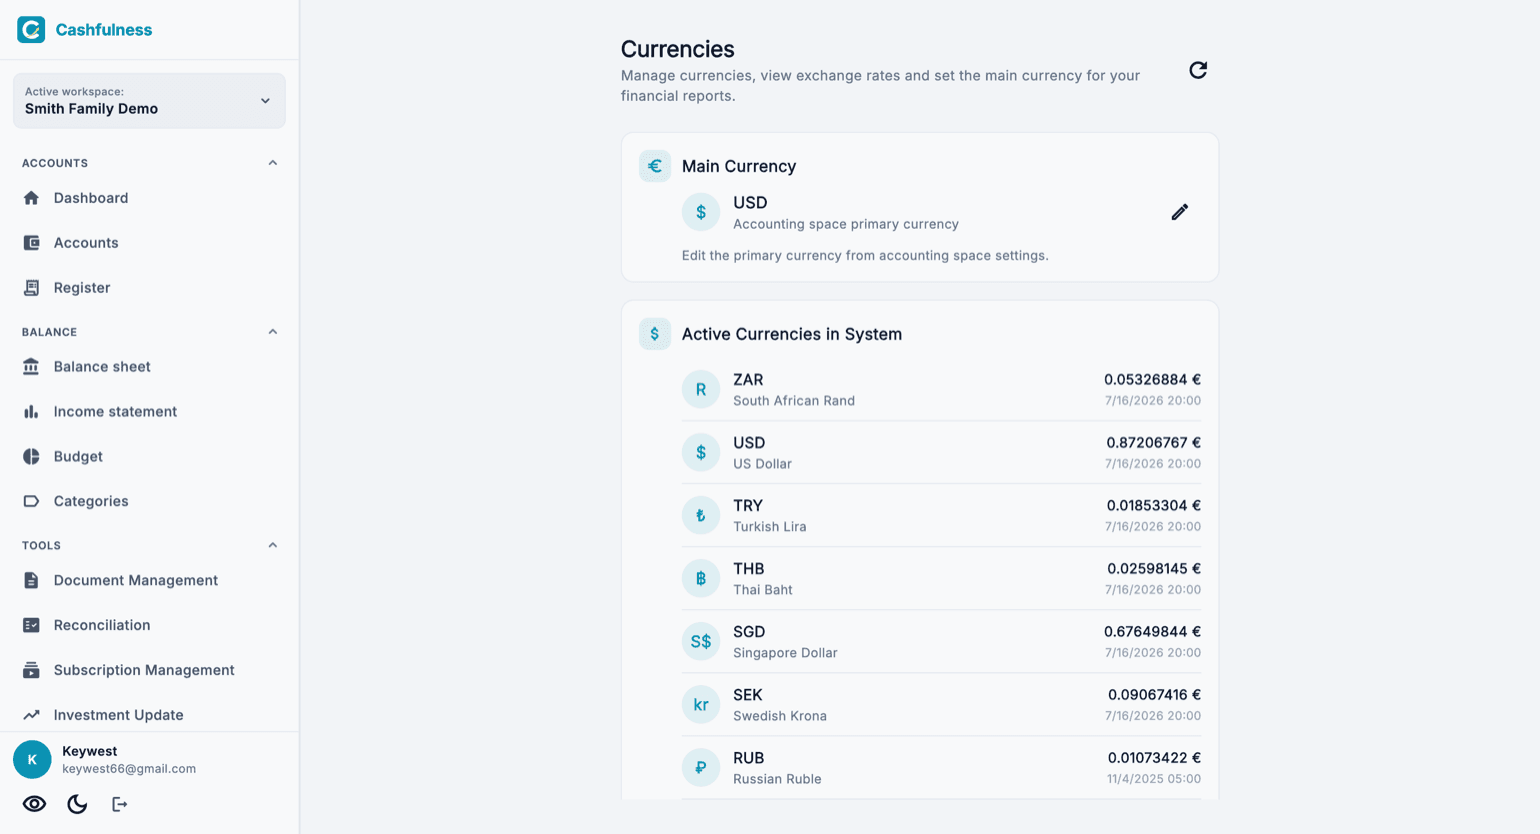
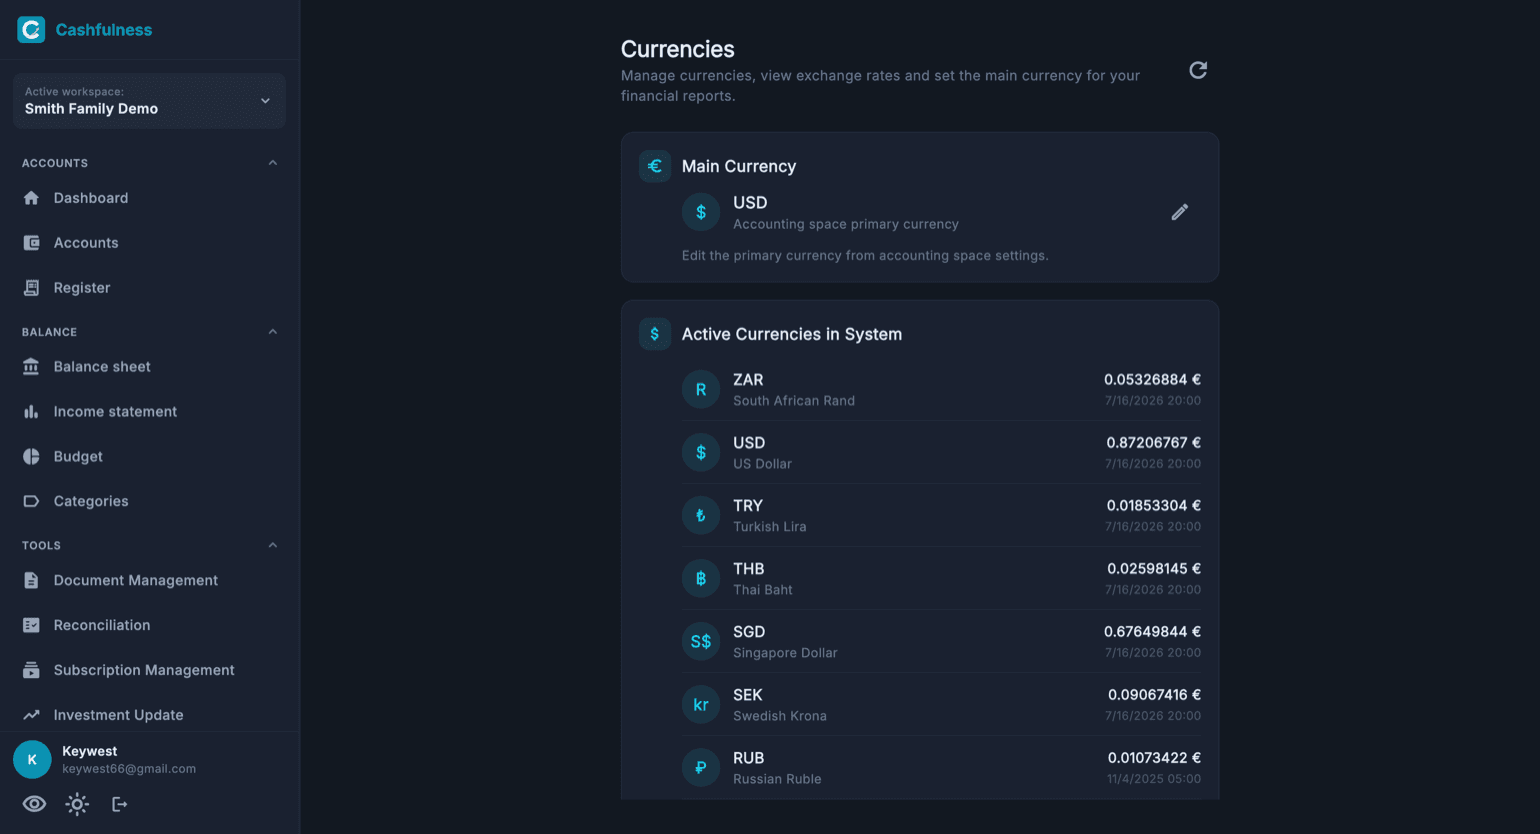
In the Currencies section you see the main currency of the active accounting space: it is the one used to express report totals, such as the Balance Sheet and the Income Statement. You choose it when you create the space and, if needed, you change it from Accounting Spaces, then Manage Accounting Space, under Primary currency.
Below it are the currencies you can assign to accounts, each with its exchange rate expressed in the main currency and the day it refers to. Rates arrive every working day from the European Central Bank; if a currency has not been updated for more than a week, its date is highlighted.
Backup and data
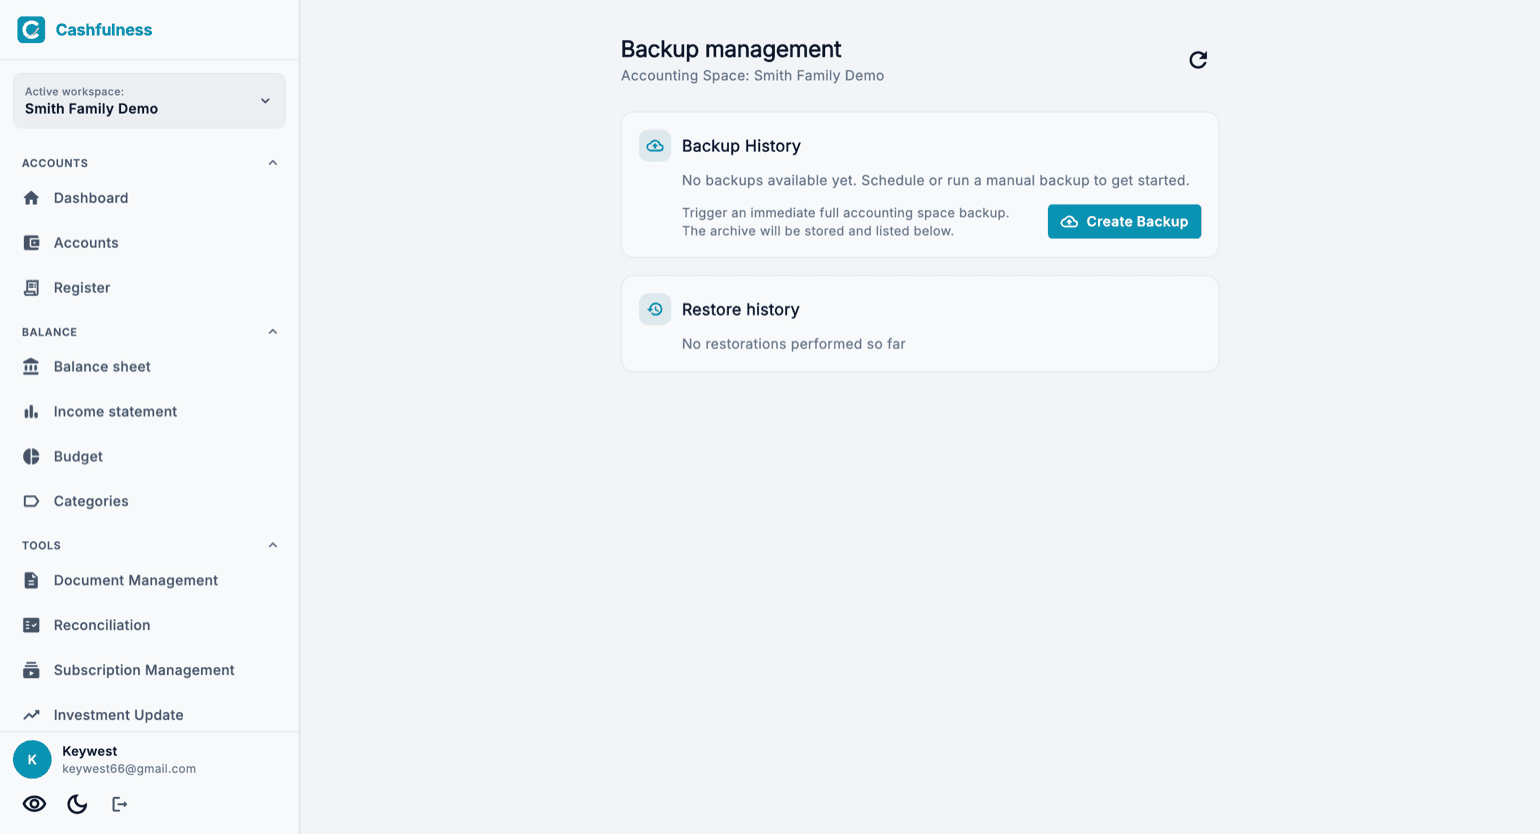
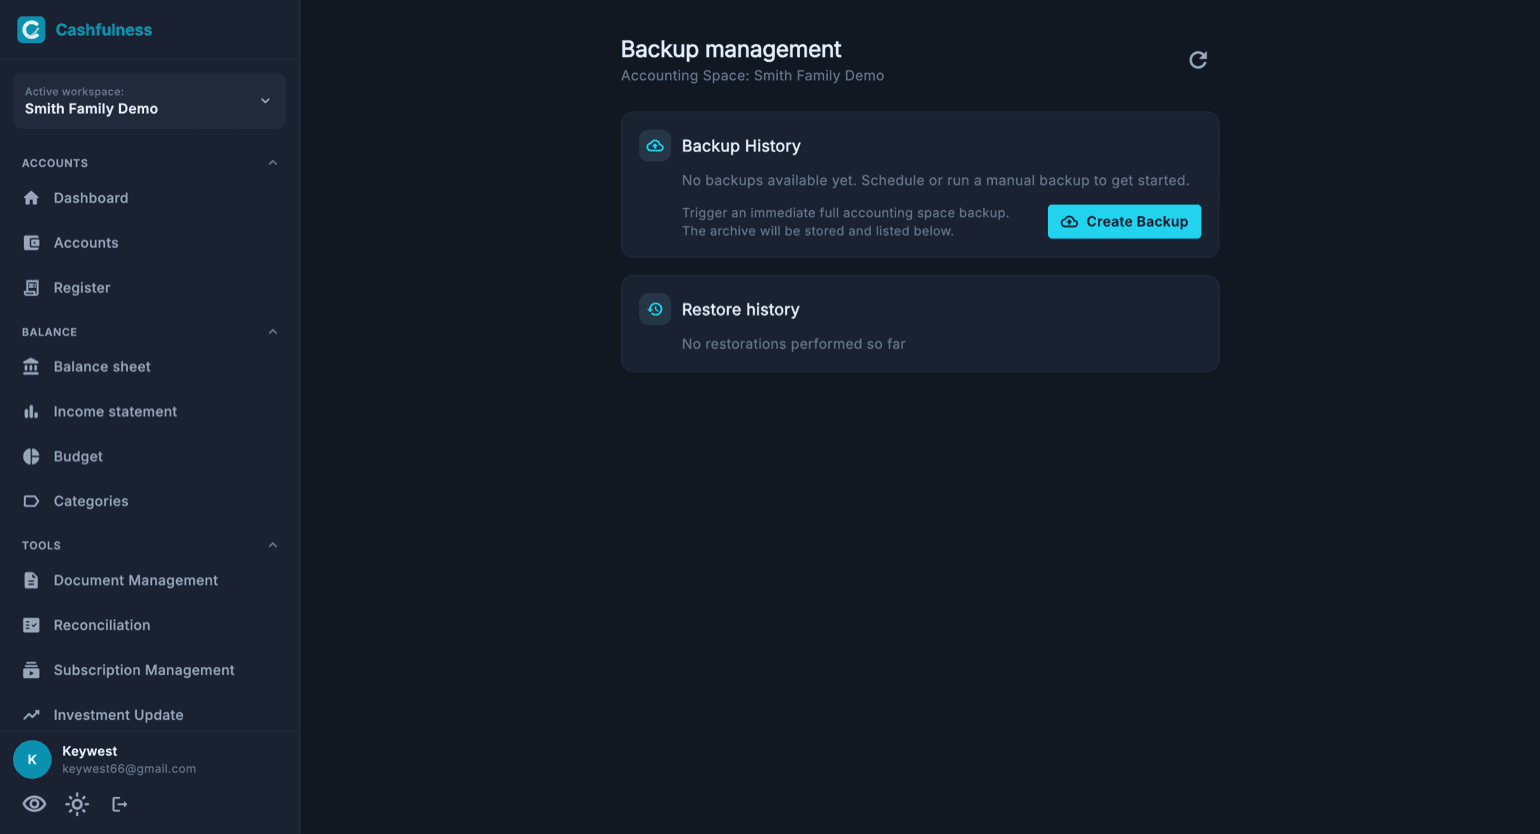
Backup and data lets you create a safety copy of the active workspace data. The file is saved to storage and appears in the Backup History; completed restores are listed in the Restore history.
From the same area you can export your data, in line with the right to data portability under the GDPR.
The same area is also home to importing. Import from CSV brings accounts and transactions in from another program, from a spreadsheet or from a bank statement. It sits here rather than under Tools because moving data across belongs with backup, restore and export: before writing anything it shows you a preview and flags the cases it cannot settle on its own, instead of guessing.
If you are coming from GnuCash there is an entry of its own, Import from GnuCash, just below. The archive must be in XML format: GnuCash can save in other formats too, and if your file isn't XML you only need to open it in GnuCash and use File, Save As, choosing XML. Compressed is fine, the app takes care of that.
The import copies the tree exactly as it was, with the names and parents it had in GnuCash, and attaches each branch under the matching heading of your chart of accounts. It doesn't try to guess any further, and there is a reason: which accounts are liquid, or which are assets you use rather than hold, is written nowhere in the file. Transactions that don't balance are left out and reported, rather than adjusted. Transactions voided in GnuCash and stock splits are left out too: the preview and the end of the import count them separately. Stock splits are left out because the import brings over the value of securities, not the number of shares; if a stock split also comes with a cash payment, that payment comes in like any other entry. If the import stops halfway because of an error, the page tells you how much got in and lets you remove it with Undo import. The type the account had in GnuCash, on the other hand, it does use: bank, cash and credit card accounts arrive already classified that way, so bank accounts and cards show up straight away in Reconciliation. Stock and fund accounts stay generic: how to classify them is up to you, by editing the account. It also brings over the reconciliation status: on bank accounts and cards, entries that were reconciled in GnuCash arrive already reconciled, and the last reconciliation date is the one from GnuCash. Entries that were only cleared do not: you reconcile them yourself, as usual.
Instead of your whole history you can start from a date. The earlier transactions do not come in one by one: for each asset and liability account the app adds up its transactions and records, on the day before the date, an opening balance against the Opening balances account. Expenses and income from previous years are not reopened, so the income statement for the new period starts clean. An account in another currency gets its balance in its own currency; if the exchange rate for that day is missing, that opening entry is left out and the import says so. On a bank account or a card the opening balance comes in two transactions: the part made up of entries that were reconciled in GnuCash, already reconciled, and the rest, to reconcile as usual. If one of the two parts is zero, only the other one comes in.
Once the import is done, the Tidy up the imported accounts button lets you move each branch where you really want it: one at a time, at your own pace, because the balances already add up. A branch can go anywhere within its own type, and a branch of assets will not go under expenses: that would flip the sign of those balances and the books would stop balancing.
While an import is writing, from GnuCash or from CSV, and also while you undo one, the page stays open until it has finished: if you try to go back or pick another menu item, it asks you to wait, because an import left halfway would carry on by itself and you would be tempted to run it again, ending up with everything twice. For the same reason the same GnuCash archive does not go into the same space twice: if it is already there, as soon as you choose it the page tells you, with the date and time of each earlier import, how many accounts and entries it created, and Undo import next to each one. Once the earlier one is gone you can import the archive again from scratch; accounts where you have recorded other transactions in the meantime, or under which you have created other accounts, stay, and the page names them: as long as they are there, the archive still counts as being in the space, so you move or delete those transactions and sub-accounts, then undo again. The same goes for an interrupted import, for example if you closed the app: choosing the archive again brings back the part that got in, to undo before you redo it. If you really need a second copy, import it into a different space.
- Open Settings, then Backup and data, and tap Manage backups.
- Press Create Backup to start a full backup of the workspace right away.
- Wait for the file to appear in the Backup History: from there you can manage it later.
Workspaces and account deletion
From Workspaces you manage your workspaces: you can rename them, invite new members and define roles and per-section permissions, so each person sees and edits only what is relevant to them.
If you decide to leave Cashfulness, account deletion is a multi-confirmation procedure: you are asked to confirm several times precisely because the operation is irreversible and permanently deletes your data.