
First steps
This chapter walks you through your first time in Cashfulness: creating an account, understanding workspaces, personalizing the look of the app, and how navigation works on desktop and mobile.
Create your account
To use Cashfulness you need a personal account, created with an email address and a password. After signing up you will receive a verification email; confirm the link inside it to activate your account.
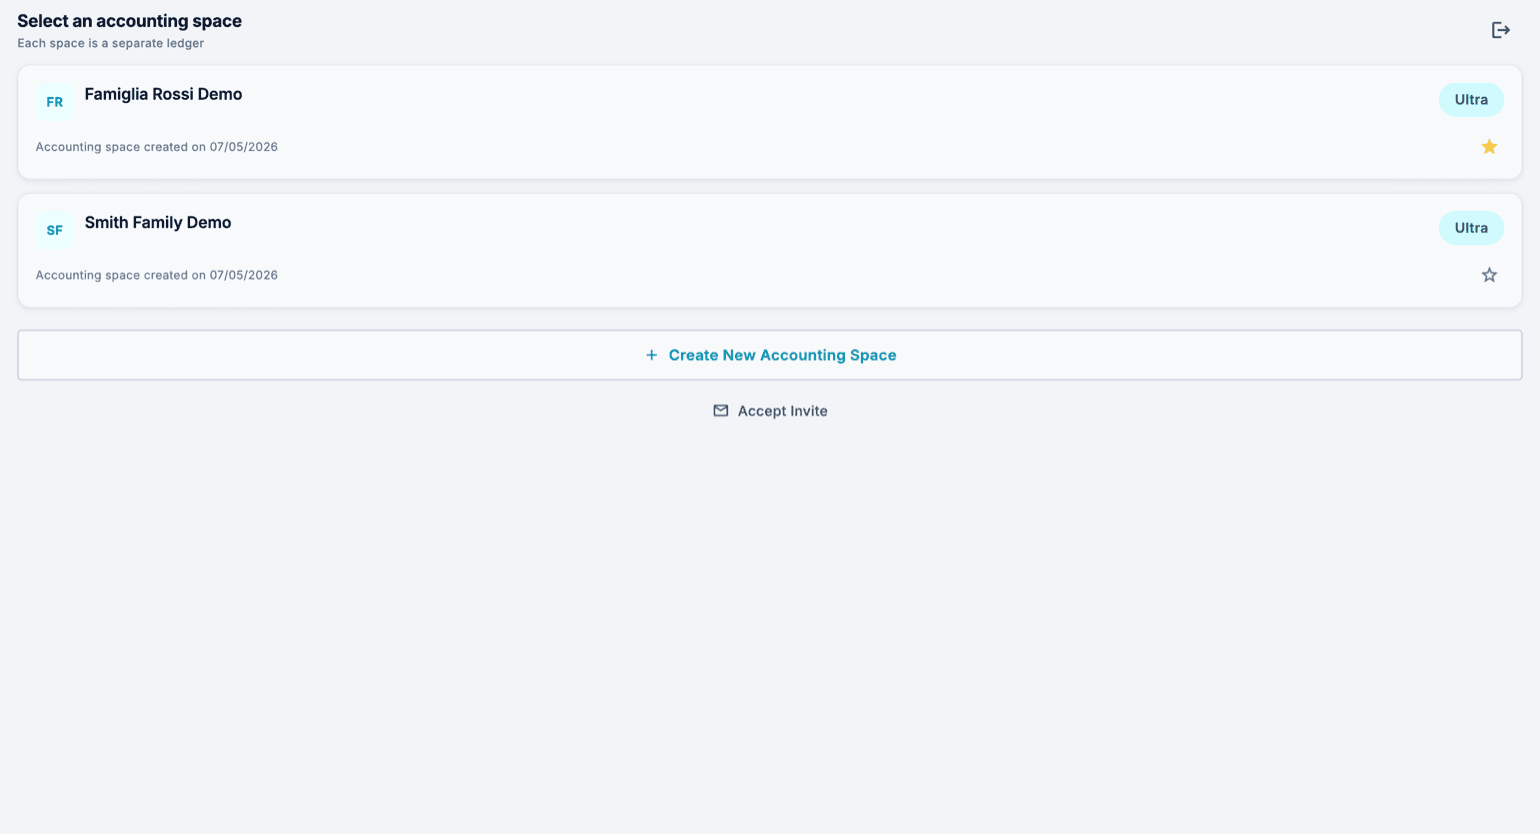
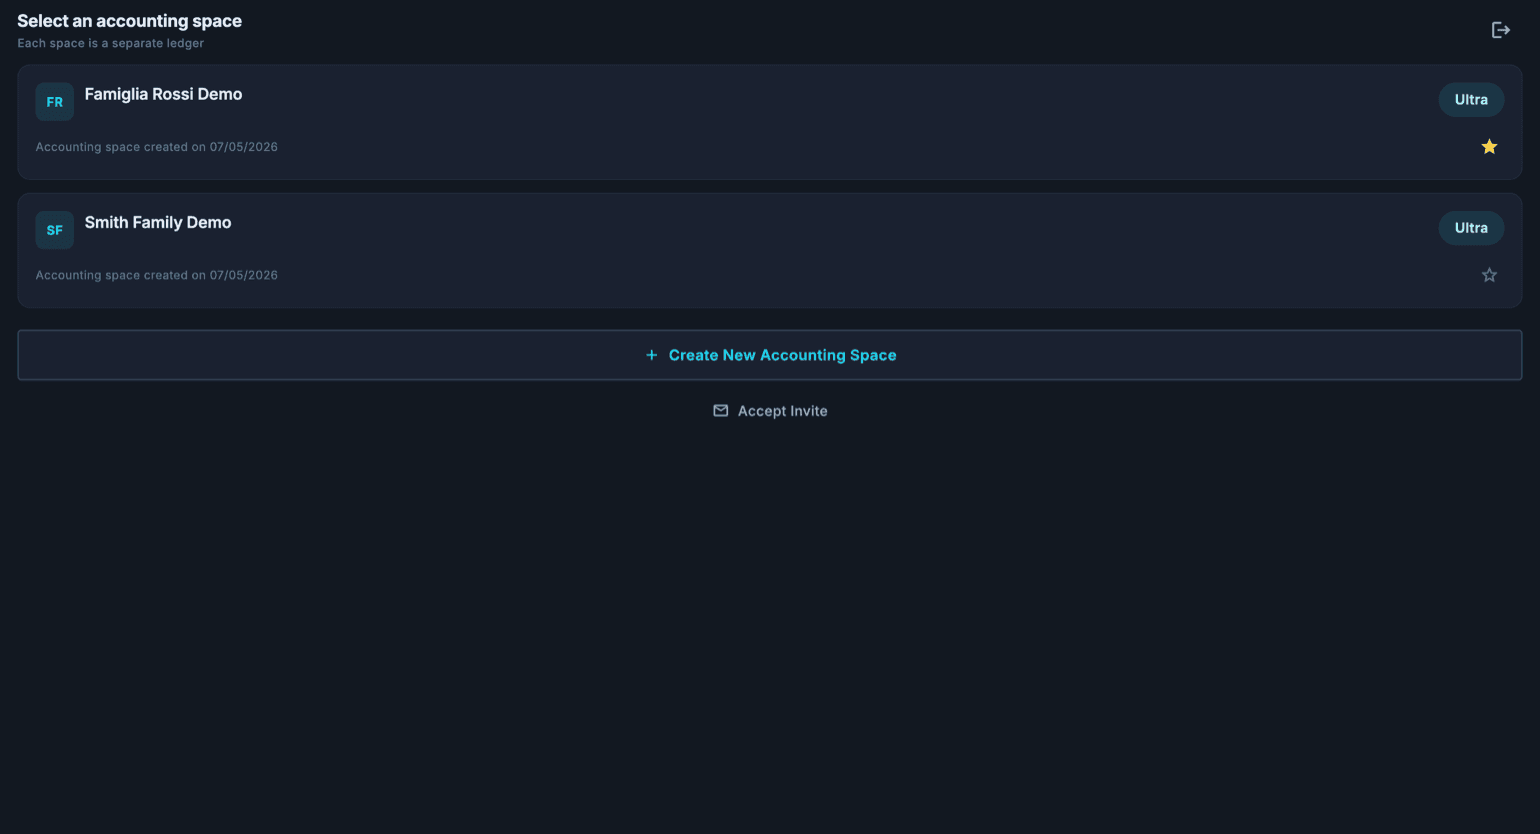
After signing up, the first screen offers “Create your first accounting space” and, below it, “Accept Invite”. The invite with its code comes from someone who wants to share their accounts with you: if nobody invited you, create your own space. A discount code doesn't go there: it's used on the website when you subscribe.
- Open the app and choose the option to create a new account.
- Enter your email address and a secure password.
- Check your inbox and open the verification link we sent you.
- Return to the app and sign in with your new credentials.
Workspaces
In Cashfulness all your data lives inside a workspace: the container that holds accounts, transactions, budgets, and documents. Every user starts with their own personal workspace.
You can create additional workspaces, for example to keep personal and family finances separate, and share them with other people. The active workspace is always shown in the app header: tap it to open the selector and switch between workspaces.
Workspace creation and sharing options depend on your plan: you will find the up-to-date details on the Pricing page of the website.
Finding your way around
On desktop, the sidebar is always visible and groups the entries into four sections: Accounts (Dashboard, Accounts, Register), Balance (Reports, Balance sheet, Income statement, Budget, Your Pillars), Tools (Categories, Labels and all the other tools), and System (Settings, Your plan, Support).
The sidebar is composable: hovering over an entry reveals the pin that adds it to Favorites, a section at the top of the menu with the entries in the order you chose them; at the bottom, the Essential/Full switch trims the menu down to the main entries, and Favorites stay visible either way. On the phone you do the same from the side menu, by long-pressing an entry. When the window is narrow the sidebar shrinks to icons only and the pin does not appear: widen the window to manage your Favorites.
On mobile, a bottom bar gives you four shortcuts: Home, Accounts, Register, and Tools. The hamburger menu at the top gathers every entry in the app, including the ones that do not appear in the bottom bar.
Choose your theme and colors
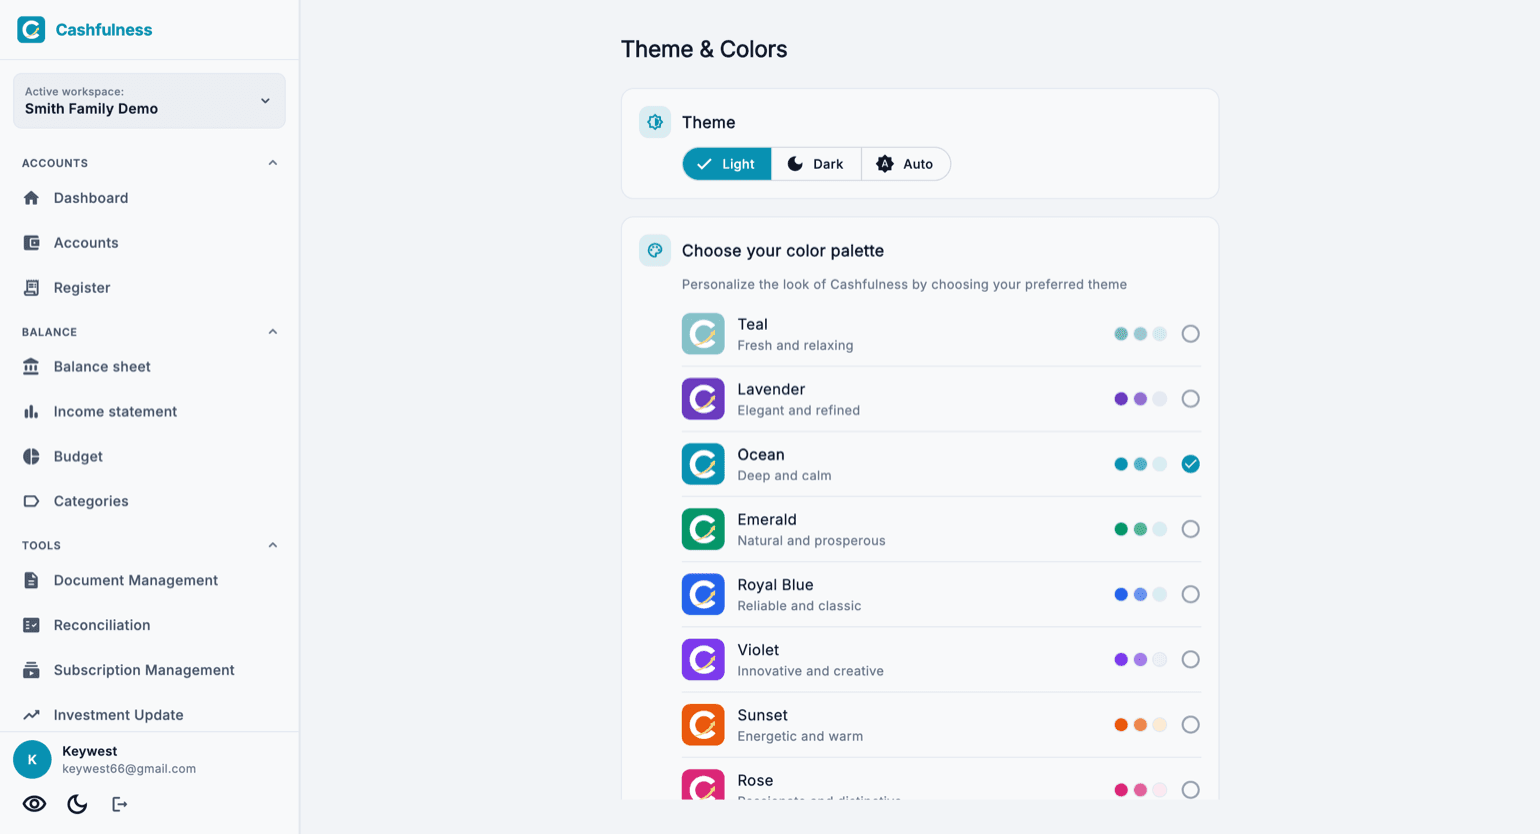
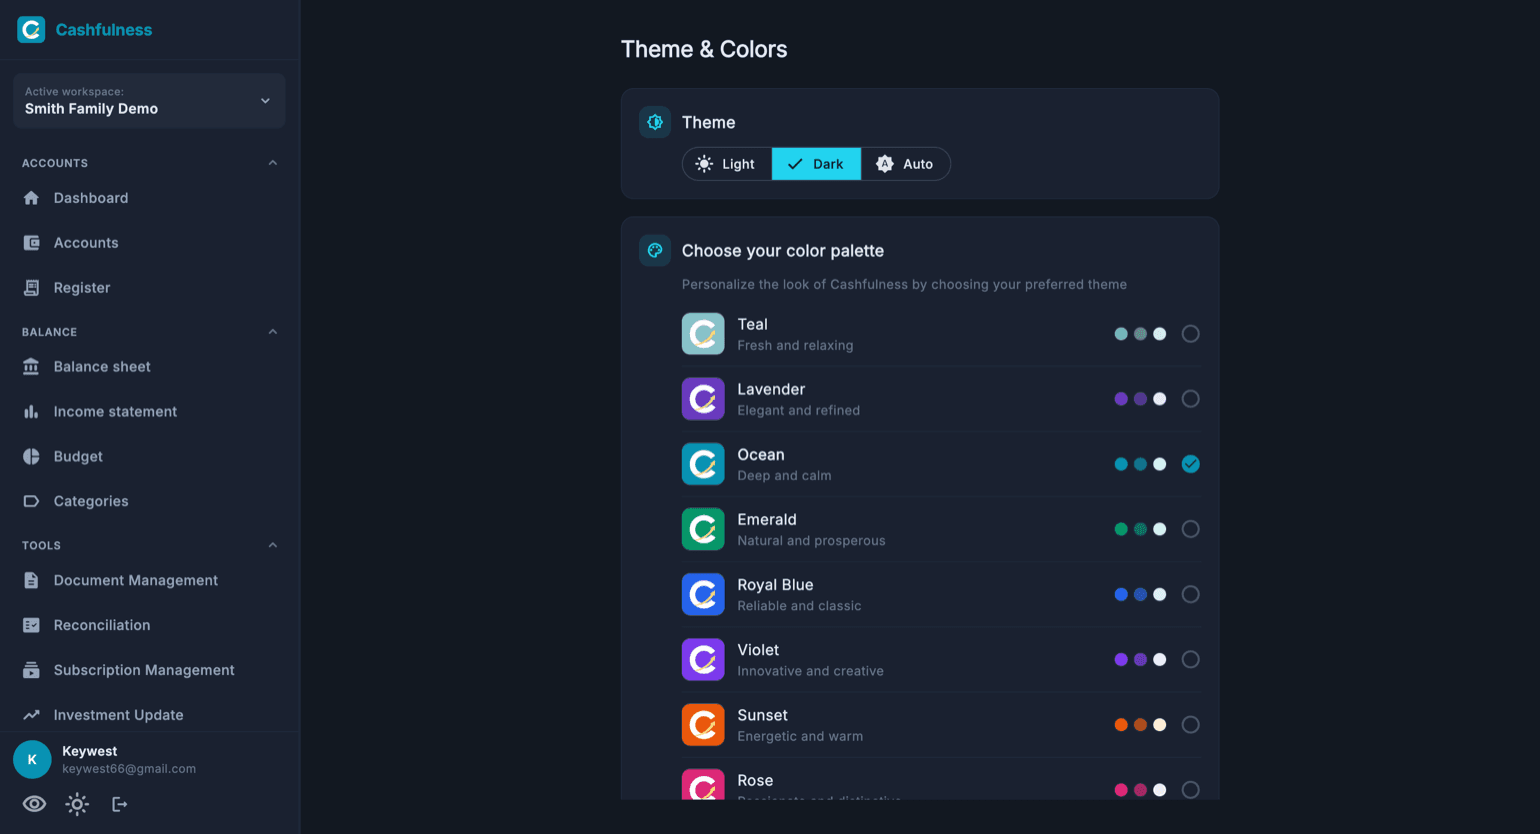
Cashfulness adapts to your taste: from the Theme and Colors screen, in the Appearance section of Settings, you can pick a Light, Dark, or Auto theme and select the color palette of the interface.
Available palettes include Aqua green, Lavender, Ocean, Emerald, Royal blue, Purple, and more: each one shows a small color preview, so you can see the effect before confirming.
- Open the app Settings.
- Go to the Appearance section, under Theme and Colors.
- Choose your theme: Light, Dark, or Auto.
- Select your favorite color palette from the list.
The app language
The Cashfulness interface is available in dozens of languages. You can change the language at any time from Settings: the change applies immediately across the whole app.
If a translation is not yet complete in your language, any missing text is shown in English, so the app always remains usable.
If Windows blocks the installation
On Windows 11 the installation may stop with a message saying an application control policy has blocked the file (error 4551). That is Smart App Control: a Windows protection that only lets through programs that are signed and already known to Microsoft.
The Cashfulness installer is signed, but a version that has just come out may not be known yet: Microsoft learns to recognize it over time. Try again in a few days, or write to us at info@cashfulness.com and we will help you.